Last updated November 18, 2026






Free written scope consultation - allowances, timeline, and change-order rules on paper before a single trade is scheduled
Fence Installation Maintenance Schedule: What to Do and When
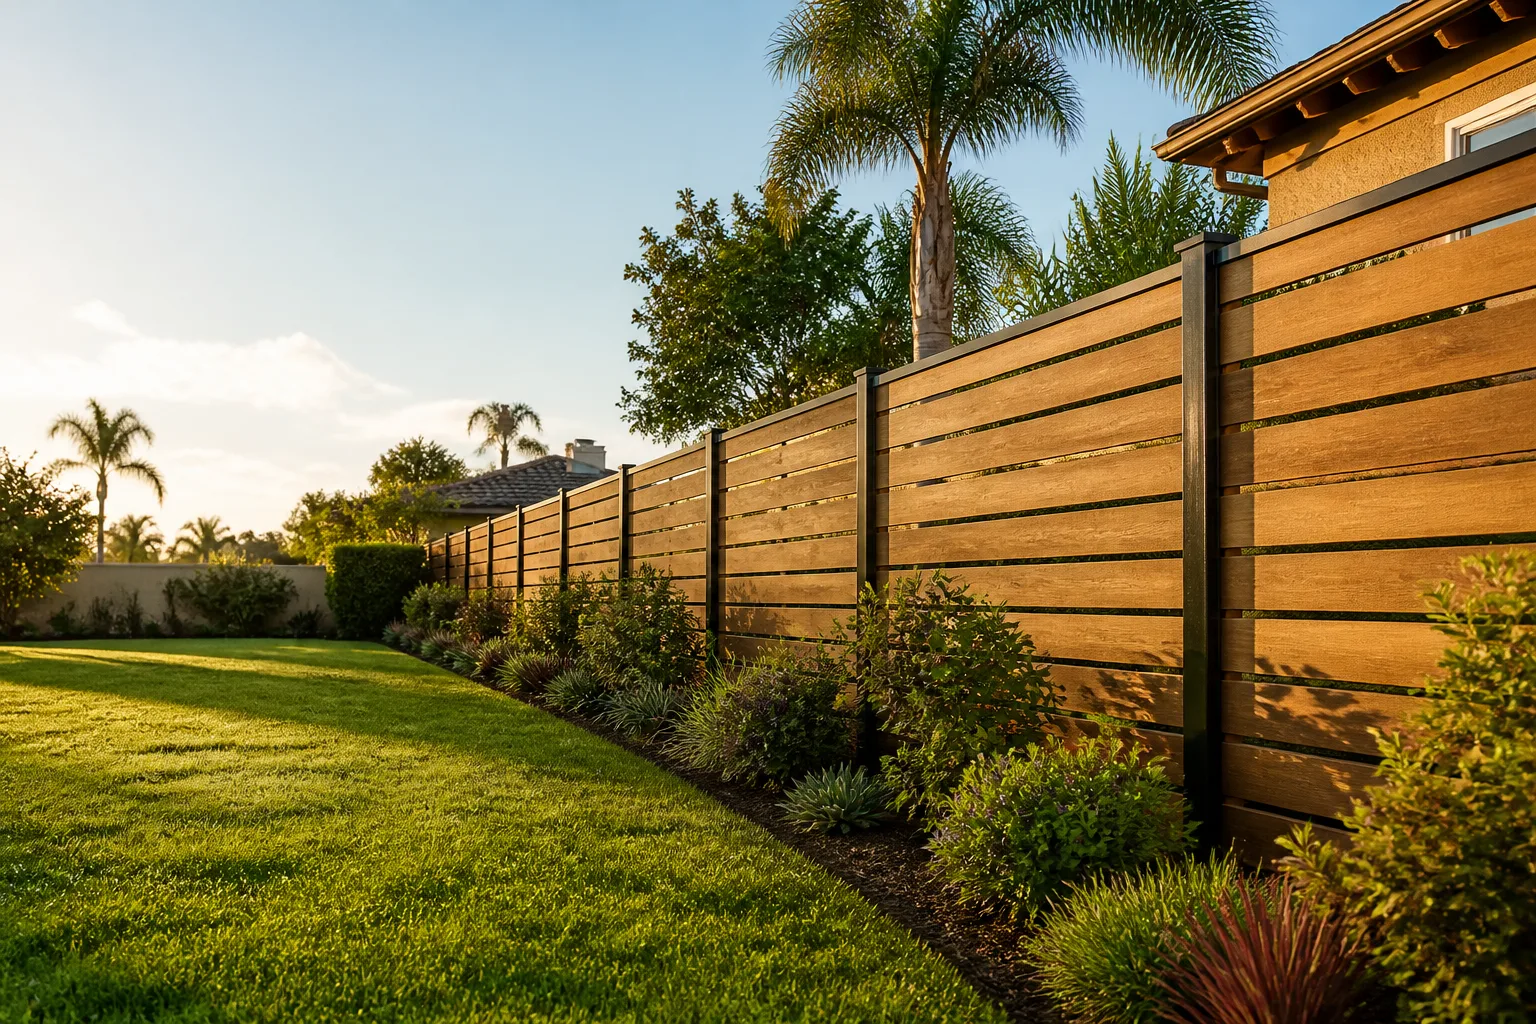
Most wood fences don’t fail in year ten. They fail in year three, quietly, at the top of a picket where the end grain drinks rainwater like a straw. We’ve walked enough Plano backyards to know the pattern: a fence goes up, looks great, gets ignored, and by the time a homeowner notices the post wobbling at the soil line, the fix that cost an afternoon in year two now costs a rail, a post, and a couple hundred dollars. This guide gives you a plain annual calendar so you catch those small problems while they’re still cheap. Keep reading and you’ll know what to inspect, when to seal, and how to stretch a Plano fence toward the top of its realistic 12-to-20-year life.
Quick Answer
A wood fence in Plano needs a walk-and-inspect twice a year (spring and fall), an end-grain seal on every picket top once a year, a full stain reapplication every two to four years depending on sun exposure and which direction the fence faces, and a post check at the soil line each spring before the rainy season. Catch end-grain moisture and soil-line rot early and a cedar fence can realistically reach 15 to 18 years instead of failing around year 10.
Styles & brands we work with
- Kitchen remodeling
- Bathroom remodeling
- Home additions & ADU
- Roofing
- Windows & doors
- Driveway & pavers
- Fence
Table of Contents
- The Season-by-Season Maintenance Calendar for Plano
- Why End-Grain Sealing Is Your Highest-Leverage Task
- The Annual Post Inspection at the Soil Line
- Choosing the Right Stain for Cedar in North Texas
- Gate Hardware: The Check That Prevents Failure
- Cleaning, Weeds, and the Board-by-Board Check
- Common Mistakes to Avoid
- When to Call a Professional
The Season-by-Season Maintenance Calendar for Plano
Plano’s climate sets the schedule. Our summers bake the west and south faces, our springs drop steady rain after months of dry, and the clay soil holds moisture against post bases longer than the sandy stuff you’d find further south. Build the calendar around those facts and the work lands itself.
Here’s how we break down the year:
- Late February to early March (before spring rain): Walk the whole run. Look at post bases, rail connections, and gate hardware. This is the inspection that matters, because it happens before the wet season tests whatever’s already weak.
- April through May: Clean the fence with a light wash, let it dry, and re-stain or re-seal if it’s due. Warmer, dry, settled weather gives the finish time to cure.
- June through August: Re-check end grain on the sun-facing sides. North Texas UV is the real enemy of a cedar finish, and a fence facing south or west will fade and crack faster than a shaded run.
- September through October: Second full inspection. Tighten gate hinges, treat any post showing softness after summer, clean out weeds and debris along the bottom rail.
- November through January: The quiet months. Touch up any end-grain seal you missed, clear gutters and downspout runoff away from the fence line, and note anything that needs a spring repair.
Two real inspections a year, plus a stain cycle every few years, is the whole program. The homeowners we see in Plano who get 18 years out of a cedar fence aren’t doing more than that. They’re just doing it on a schedule instead of waiting for something to break.
Why End-Grain Sealing Is Your Highest-Leverage Task
Here’s the counterintuitive part: the flat cut on top of every picket absorbs water far faster than the milled face or edge. On end grain, moisture wicks straight down into the board. That’s how a picket stays solid for eight years and then splits at the top and starts peeling away from the rail. A picket usually fails from the top down, not the bottom up.
The good news is the fix is cheap and fast. Sealing every picket top on a typical Plano backyard run takes one person under an hour with a small brush or a roller and a can of end-grain sealer. Here’s the sequence:
- Pick a dry, settled day. No rain expected for 24 hours, and the wood should be dry to the touch.
- Brush off dust, cobwebs, and loose debris from each picket top.
- Apply a thin, even coat of end-grain sealer to the top cut of every picket. Don’t flood it. Saturation causes drips down the face.
- Work the sealer into any check or crack, because that’s exactly where water wants to sit and split the board.
- Re-seal once a year. Cedar in a North Texas summer loses that top coat faster than a shaded fence in a wetter climate.
We’re honest with people about the payoff. One afternoon a year, maybe forty to sixty dollars in sealer, and you add years to the pickets. Skip it and you’re replacing pickets in groups five or six years earlier than you’d otherwise have to. On a Plano fence with a couple hundred pickets, that’s the difference between a small repair and a whole run replacement.
The Annual Post Inspection at the Soil Line
Rot starts at the ground line, in the narrow band where soil, moisture, and wood all meet. That’s the spot to check every spring, before the wet season gives a soft post a chance to spread rot up into the rail and the whole connection.
The test itself takes seconds per post. It’s two checks in one, and a post that fails either one needs attention:
- The poke test. Press the tip of a screwdriver or a sturdy pocketknife into the wood just at the soil line, on all four sides. It should feel solid. If the tool sinks in easily, or the wood feels spongy, that’s early rot and it’s already a problem.
- The wiggle test. Push the post firmly by hand. It shouldn’t rock or shift more than a hair. A post that moves has lost its footing, either to rot below grade or to soil that’s pulled away.
Catch this early and the fix is often small: a post base treatment, a little soil settling, a rail reconnecting. Wait until the rail is soft or a fence panel is sagging and you’re into post replacement, which means tearing up that section of the run. We regularly see this in older Plano neighborhoods where the clay has held moisture against cedar posts for a decade or more. The posts that fail first are almost always the ones no one checked at the ground line.
Choosing the Right Stain for Cedar in North Texas
Cedar in a hot, humid climate like ours wants a penetrating oil-based stain, not a film-forming paint or a heavy surface coating. Penetrating stain soaks into the wood, protects it from UV, and lets the cedar breathe. That last part matters: a film coating traps moisture in the board, and once it cracks and lets water under the edge, you get peeling and accelerated decay.
Here’s how to think about frequency:
- Full sun, south or west facing: Re-stain every two years. Those runs take the worst UV in Plano and fade fastest.
- Partial shade: Every three years.
- Full shade, or the north-facing run: Every three to four years, though check for moisture problems more often because shade holds damp.
Before staining, clean the fence with a light wash and let it dry fully, which in our humidity can take two or three days. Transparent or semi-transparent penetrating stains are the usual pick for cedar because they show the grain while still blocking UV. A solid-body stain offers more color consistency but acts more like paint and needs more careful prep. When we’re setting up a fence installation, this finish discussion is part of the plan, on paper, so the homeowner knows the maintenance cadence. Our Fence Installation in Plano page lays out how we approach the materials and finish from day one.
Gate Hardware: The Check That Prevents Failure
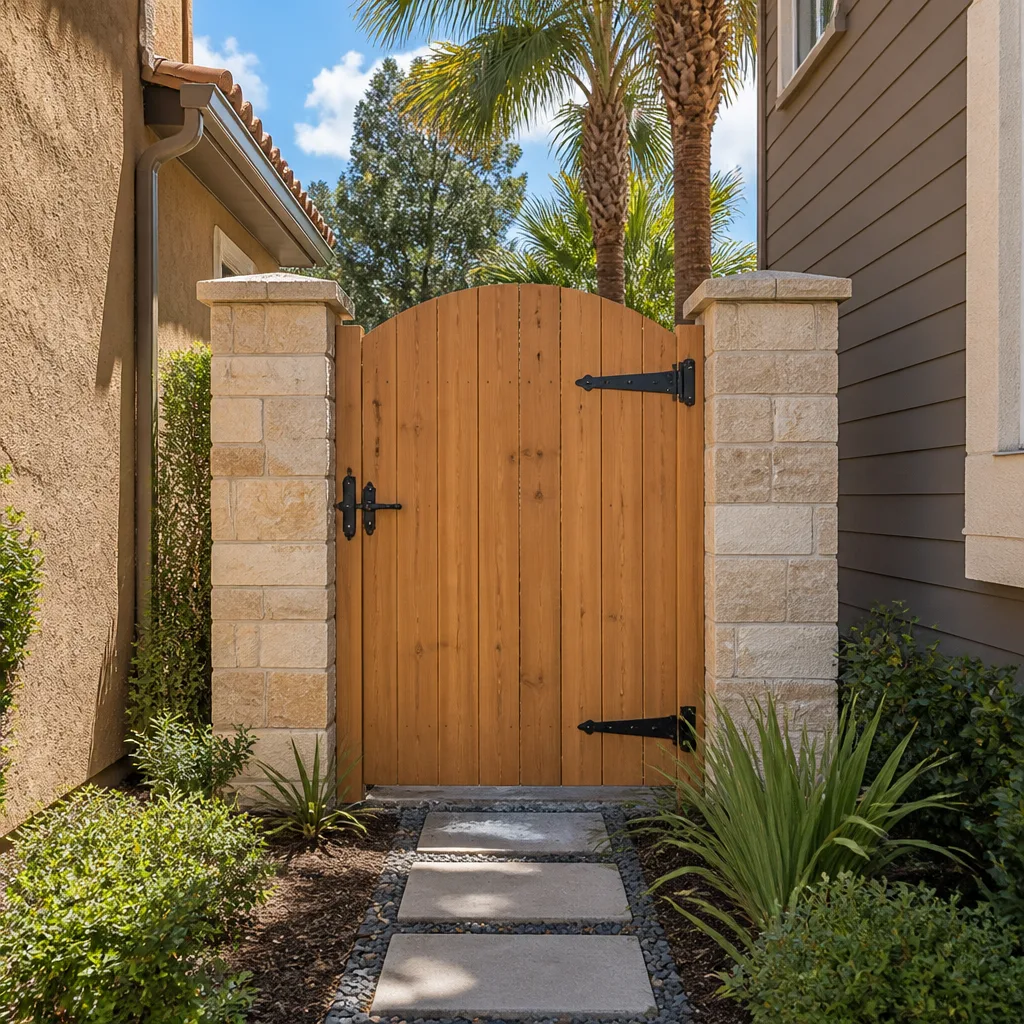
The gate is the part of a fence that takes the most daily abuse. It swings, gets bumped, gets hung on by kids and dogs, and carries weight on a couple of hinges. Most gate failures we see start with one of two things: a hinge that stopped lubricating, or a sag that went unnoticed until the latch won’t line up.
Do this twice a year, at the spring and fall inspections:
- Lubricate every hinge and latch point with a dry lubricant or a few drops of light oil. Dry lubricant is our preference because it doesn’t hold grit, which acts like sandpaper inside the hinge.
- Check alignment. Open and close the gate and watch the latch. If it binds, drags on the ground, or needs a lift to catch, the gate has sagged and something needs tightening or shimming.
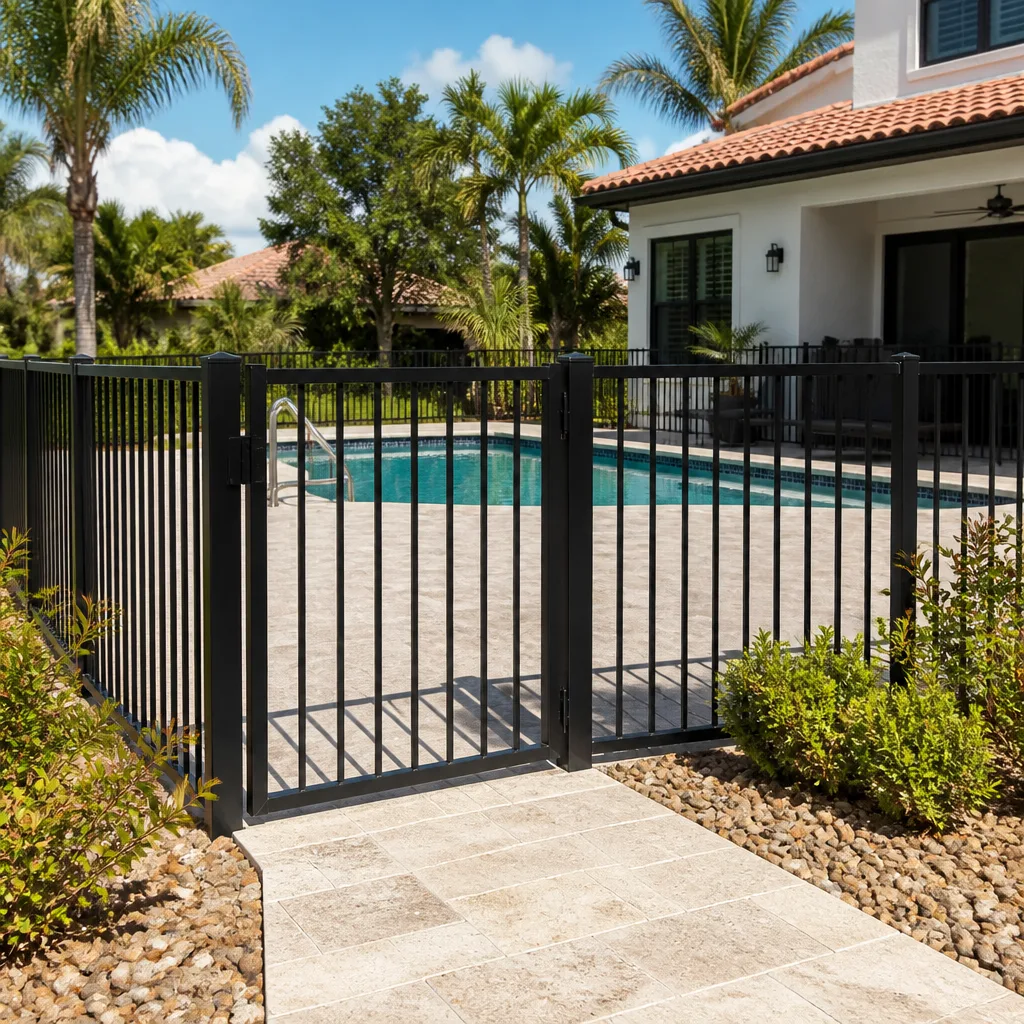
- Tighten hinge screws and bolts. Loose hardware lets the gate sag, and a sagging gate pulls on the post it’s hung from.
- Add or adjust the diagonal brace if the gate is wide. A wide gate without a proper brace will sag no matter how well you lubricate the hinges.
An afternoon of hardware attention once or twice a year keeps a gate swinging true for years. Neglect it and the post carries the load, and a post that fails is a much bigger fix than a hinge that stuck.
Cleaning, Weeds, and the Board-by-Board Check
The unglamorous part of fence maintenance is the cleaning, and it’s also the part most homeowners skip. Dirt, pollen, and debris along the bottom of the fence hold moisture against the wood, and weeds growing up through the rails do the same thing while hiding what’s happening underneath. Here in Plano, where humidity and clay soil both work against you, that trapped moisture is exactly what rot feeds on.
A practical cleaning routine looks like this:
- Wash the fence with a garden sprayer or a low-pressure washer once a year, before you stain. Never use high pressure on cedar; it gouges the grain and drives water in.
- Clear weeds and debris from along the bottom rail and both sides of the fence line. Pull them, don’t just trim.
- Walk the boards. Look for pickets that are loose, split, warped, or pulling away from the rail. A loose picket is usually a nail that’s given up, and it’s a quick fix before it takes the next picket with it.
- Check the bottom rail for soft spots. The bottom rail sits closest to the ground and is often the first board to go.
This is where the rest of your property ties in. Fence lines sit right against driveways, patios, and paver walks, and moisture management at those edges affects both. If you’re planning a paver apron or a border along the fence line, Driveway & Pavers in Plano covers how grading and drainage should be handled so water moves away from the fence instead of pooling against it.
Common Mistakes to Avoid
- Sealing a wet or dirty fence. Sealer on damp wood traps moisture in, and sealer over dirt and pollen flakes off within a season. Clean, dry, then seal.
- Using a film-forming paint or heavy topcoat on cedar. It traps moisture and peels. Cedar wants a penetrating stain that lets it breathe.
- Skipping the top cuts. Sealing the face of a picket but not the end grain is like weatherproofing a roof and leaving the ridge cap off. The top cut is where water gets in.
- Never checking post bases because the fence “looks fine.” Rot starts where you can’t see it, at the soil line. The poke test catches it before the rail goes soft.
- Ignoring a sagging gate. A sag doesn’t fix itself. It puts load on the post and eventually takes the post with it.
- Letting weeds and debris pile up along the bottom. That’s a moisture blanket against the lowest and most vulnerable boards in the run.
- Assuming a new fence is maintenance-free for years. The finish needs attention within the first year or two, long before the installer’s warranty window closes. That early window is exactly when the cheap fixes are cheapest.
See the difference
 Before
 After
 Before
 After
 Before
 After
When to Call a Professional
Most of what’s in this guide is homeowner work. A few situations are worth a professional call: a post that fails the poke test and needs replacing, a whole section of rail that’s gone soft, a gate frame that’s twisted rather than just sagged, or any run of fence showing rot in more than one or two posts. If your fence is at the end of life and you’re weighing repair versus replacement, that’s also a conversation worth having with someone who’ll put the price in writing. Barrett & Sons Construction Plano offers free estimates in Plano. We pull every eligible permit, put the scope and allowances in writing, and back the work with our 90-Day Done Right Promise. Call (877) 382-4108 to schedule your free estimate.
The same care extends to the rest of the property. If a fence replacement has you looking at the bigger picture, our Barrett & Sons Construction Plano home page shows how fencing fits alongside the other work we do, and if you’re adding a detached structure or expanding the footprint, Home Additions & ADU in Plano is where that conversation starts.
Frequently Asked Questions
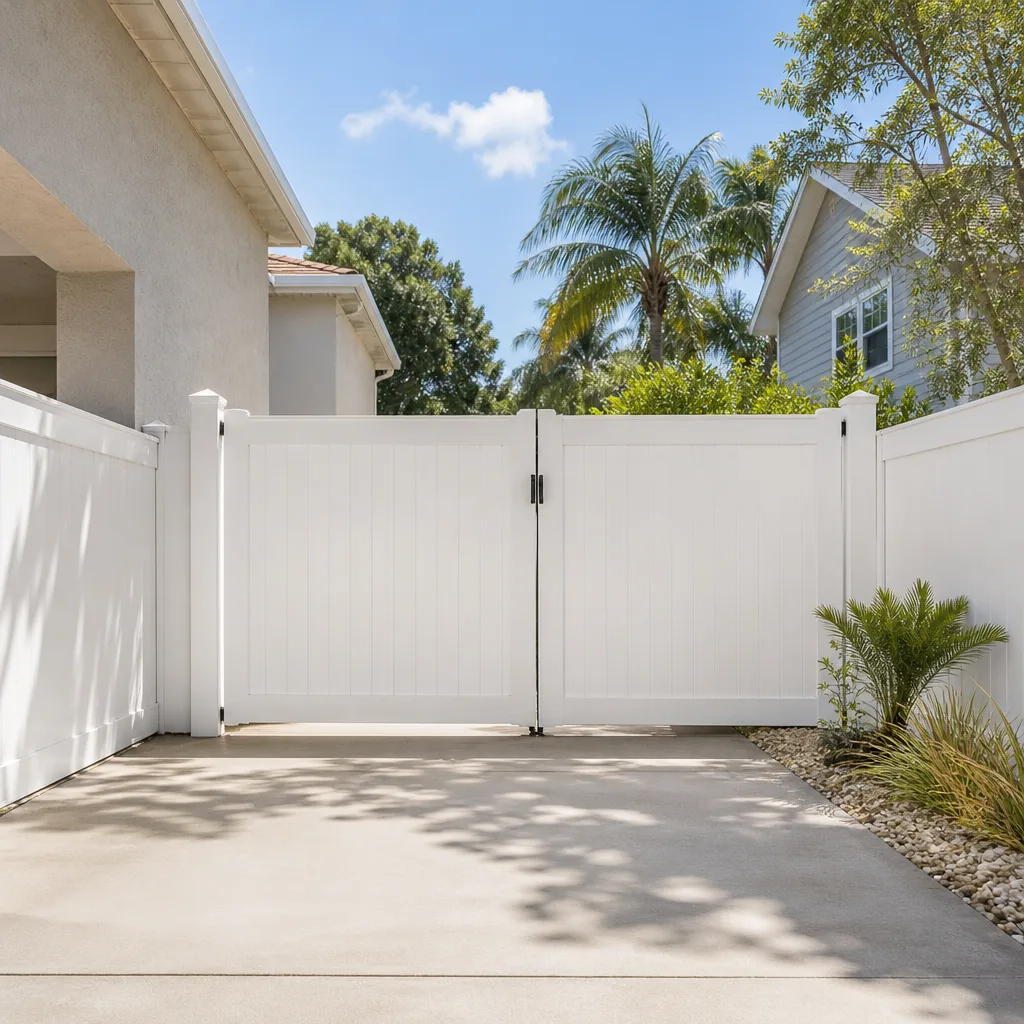
Reseal the full fence with a penetrating stain every two to four years, and re-seal the end grain on every picket top once a year. Sun-facing runs that face south or west in Plano need the full reseal closer to every two years, while shaded runs can stretch to three or four. Call (877) 382-4108 if you’d like a free walk-through to judge what your fence actually needs.
Poke the wood at the soil line on all four sides with a screwdriver, then push the post to see if it moves. If the tool sinks in easily or the post rocks, rot has started. Do this every spring before the wet season, because it’s the cheapest time to catch it.
A well-maintained cedar fence in North Texas realistically lasts 12 to 20 years, and the wide range comes down almost entirely to maintenance. The fences that reach the top of that range get two inspections a year, annual end-grain sealing, and a stain cycle on schedule. The ones that fail early usually skip all three.
Use a penetrating oil-based stain, not paint. Cedar needs to breathe, and paint or heavy film coatings trap moisture and peel. A semi-transparent penetrating stain blocks UV while showing the grain and won’t crack and flake the way paint does.
Most routine upkeep, including inspections, cleaning, end-grain sealing, and stain reapplication, is well within a homeowner’s reach with a free afternoon. Hire a professional for post replacement, soft rails, a twisted gate frame, or rot showing in multiple posts. Call (877) 382-4108 for a free estimate on any structural repair.
End grain absorbs water much faster than the milled face of a board, so the flat cut on top of each picket is the first place moisture gets in and works downward. Sealing those top cuts once a year is the single highest-leverage maintenance task you can do to extend picket life.
The Bottom Line
The gap between a ten-year fence and an eighteen-year fence is almost never the material. It’s whether anyone sealed the end grain in year two, treated the posts at the soil line before the wet season, and kept the gate hardware turning freely. That’s two inspections a year, an annual end-grain seal, a stain cycle every couple of years, and a little effort on the gate. Write it on the calendar and the work becomes routine. Skip it and the small problems stay cheap right up until they don’t. Barrett & Sons Construction Plano is here when a repair outgrows the maintenance list. Call (877) 382-4108 for a free estimate.
Written by the team at Barrett & Sons Construction Plano.