Last updated November 18, 2026





Free written scope consultation - allowances, timeline, and change-order rules on paper before a single trade is scheduled
Fence Installation Troubleshooting: Common Problems and How to Fix Them
A leaning fence post in clay soil almost never leans because it was hit or because the post rotted above ground. It leans because the soil shrank and swelled around a footing that wasn’t set deep enough to begin with. Pack dirt around it and it’ll lean again by next summer. We’ve watched this play out on more fences in Plano than we can count, and the pattern is always the same: the visible problem is a symptom, and the real failure is hiding at or below the soil line. This guide works backward from the symptom to the actual failure point, so you fix the cause instead of babysitting the same post every spring.
Quick Answer
Most fence problems that show up in the yard – a leaning post, a sagging gate, a cracked picket – trace back to four root causes: a footing that wasn’t set deep enough, soil movement in expansive clay, wood rot at the ground line, or hardware that was undersized from day one. Fix the symptom without addressing the footing or hardware and it comes back within a season. Fix the root cause and the repair holds for years.
Styles & brands we work with
- Kitchen remodeling
- Bathroom remodeling
- Home additions & ADU
- Roofing
- Windows & doors
- Driveway & pavers
- Fence
Table of Contents
- How to Diagnose a Leaning Fence Post in Plano Before You Touch It
- What Actually Fixes a Leaning Post (And What Just Buys Time)
- Why Gates Sag and the Adjustment Sequence That Fixes Them
- How to Find Hidden Rot at the Soil Line Before a Panel Falls
- What Pickets Splitting in Year Two Say About the Wood Grade
- Which Repairs Last and Which Are Temporary Patches
- How North Texas Heat and Clay Affect Your Fence Line
- Common Mistakes to Avoid
How to Diagnose a Leaning Fence Post in Plano Before You Touch It
A leaning post is a diagnostic question, not a single problem. Before you grab a shovel, figure out which of four causes you’re dealing with. The repair is completely different for each one, and guessing wrong is how homeowners end up resetting the same post twice.
The most common cause in Plano is a shallow footing. Our clay soil holds moisture in the wet season and shrinks in the dry months, and a post set only 18 to 24 inches deep in that ground has almost nothing holding it upright when the soil pulls away. The second cause is soil movement itself, which we see most along fence lines that run near downspout discharge or low spots that pool after a storm. The third is rot at the ground line, which you can’t see from the yard side. The fourth is a post that was set directly in dirt with no concrete at all.
Here’s the diagnostic sequence we use, and you can run it yourself in about ten minutes:
- Push test. Lean your weight against the post at chest height. If it rocks at the base but the ground around it stays put, the footing is loose or shallow.
- Soil inspection. Dig down six inches on the windward side. Loose, dry, crumbly clay means the soil pulled away from the footing.
- Crack check. Look for a visible gap between the post and the soil on one side and compression on the other. That’s movement, not impact.
- Probe for concrete. Push a screwdriver straight down along one side of the post. If it slides through soft dirt all the way to 18 inches, there’s no concrete footing beneath it.
- Rot test. Press a screwdriver hard into the post at the exact soil line. Soft wood that gives way is rot. Hard, dry resistance is a sound post.
Get those five answers and you’ll know which repair section below applies to your fence. Skipping this step is the single biggest reason fence repairs fail in Plano.
What Actually Fixes a Leaning Post (And What Just Buys Time)
Set a post back in a proper footing and it stays. Pack dirt around a loose post and it leans again by next summer. The difference comes down to three things: depth, concrete, and drainage.
A proper footing in Plano’s clay soil runs deeper than a lot of old fences were built to, and it needs a concrete collar that sits below the frost line pressure zone and above the wet soil. Beyond that, the top of the concrete needs to slope away from the post so water sheds instead of pooling at the wood. That last detail is where most patch jobs fall apart; the post is reset, water still sits at the base, and the wood begins rotting within a year.
What actually fixes a leaning post:
- Replace the post, don’t just reset it, if there’s any rot at the soil line. Once rot starts at the ground line, no amount of resetting will stop it from progressing.
- Set the new footing in concrete, poured below the wet zone, with a sloped shoulder at the top. This is the piece that most DIY post resets skip.
- Backfill with compacted crushed stone, not dirt. Stone drains. Clay doesn’t.
- Reattach the rails to the new post with lag screws, not deck nails. Nails pull out of wood under soil movement. Lag screws hold.
What buys time instead of fixing the problem:
- Driving a metal post anchor or T-post alongside a leaning post.
- Packing dirt against the base.
- Adding a diagonal brace from post to rail.
- Tying the post to a stake with wire.
Those temporary fixes have a place – they’ll usually get you through a season until you’re ready for a proper repair – but they don’t change the footing, and the footing is what’s failing. If you want the repair done once, the post comes out and the footing gets rebuilt. If you’re considering a full replacement instead of a piecemeal repair, our Fence Installation in Plano page walks through what a new install includes from the footing up.
Why Gates Sag and the Adjustment Sequence That Fixes Them
A sagging gate isn’t a wood problem. It’s almost always a hardware failure or a post-alignment problem, and if you can rank your gate issues in the right order, you can fix most sagging gates in under an hour without replacing the gate or the posts.
The chain of failure goes like this: the gate hinge pulls loose from the gate stile because the screws were too short or the wood softened underneath. With one hinge loose, the gate drops on the hinge side. The gate then drags at the latch side, and the latch no longer catches. Homeowners tighten the hinge screws, the wood strips out, and the cycle repeats.
A slow gate swing – the kind that stops opening on its own or swings itself closed – usually points to a post that has moved, not the gate. In Plano we see this on gates nearest a downspout or a slope. The hinge post settles differently than the latch post, the two no longer sit on a square line, and the gate swings wide or binds.
The adjustment sequence that actually fixes a sagging gate:
- Check the posts first. A level held vertically against each post tells you if the gate posts are plumb. If one has moved, fix that before touching the gate hardware.
- Tighten and replace hardware. Replace gate hinge screws with lag screws long enough to reach past the softened wood into solid material. Fill stripped holes with a hardwood dowel glued and driven in, then re-drill.
- Add a diagonal brace. A gate that’s 24 inches wide or wider needs a diagonal brace or the frame will rack and drop the latch.
- Adjust the hinge first, then the latch. Most gates can be re-aligned by shimming under the hinge to lift the swing side.
- Lubricate the hinges and the latch mechanism. A stiff hinge pulls a gate out of alignment every time it’s used.
If the post itself has moved, gate hardware won’t fix it. The gate frame is only as square as the posts it hangs from.
How to Find Hidden Rot at the Soil Line Before a Panel Falls
The panel that suddenly falls over in a windstorm almost always had rot at the soil line for months before it dropped. The problem is you can’t see it from the yard side. The rot is on the fence-line side, at the ground, where water pools and soil stays wet longer.
There’s a specific test that catches it early. We use it on every fence inspection, and you can run it on your own fence in about five minutes a section.
- Walk the fence line. Stand on the neighbor side, not your side, and look at the base of every post.
- Probe at the soil line. Push a screwdriver into the base of the post right at ground level, about an inch into the wood. If it goes in easily or feels spongy, that post is rotting from the inside.
- Check for soil contact with rails. Wood-to-soil contact at the rail end is the second most common rot point. Look for dark, soft wood where the rail meets the post.
- Look for frass or termite tubes. Termites in North Texas will find a rotting base long before the panel falls. If you see mud tubes along the post base, that’s a separate call, but the rot is what brought them.
- Push test every fifth post. A post that moves at all at the ground level is compromised, even if the wood feels firm above ground.
Any section with rot at the base needs a post replacement, not a paint touch-up. Painting over rot seals moisture in and makes the problem worse. Our Barrett & Sons Construction Plano home page covers our full range of work if you want to check whether a repair fits under a single scope.
What Pickets Splitting in Year Two Say About the Wood Grade
If your pickets are splitting, cracking, or checking at the top two or three years after installation, that’s a wood-grade problem, not a maintenance problem. Paint doesn’t cause it. Moisture swings don’t cause it alone. It’s the grade of pine that was used and how wet it was when it went up.
What we see in Plano fences built with contractor-grade pine:
- Long vertical splits starting at the top edge. That’s the pith of the board running through the picket. Low-grade boards with the pith centered split faster as they dry.
- Deep checking at the top and bottom. The end-grain dries faster than the face of the board, and the wood tears itself apart as it does.
- Splitting along the nail line. Nails were driven too close to the edge of the board, or the board was too wet when it was nailed, and the wood split when it dried.
There’s not much you can do about splitting after the fact. The picket either holds together or it doesn’t. What you can do is pick a better grade on the next install. Cedar, in our experience, holds up to North Texas sun better than contractor pine and starts splitting less often. Higher-grade pine with tighter growth rings, and pickets with the pith off-center, split far less. If the pickets on your fence are splitting in year two, the fence was probably built with the cheapest material the installer could source. That is worth knowing before you hire anyone for a repair – a contractor who shows up with a premium picket stays in business on warranty, not on volume.
Which Repairs Last and Which Are Temporary Patches
Some fence repairs last ten years. Others buy you one season. Knowing which is which is the difference between a fence that stays up and a fence you keep patching.
Repairs that last:
- Post replacement with a proper footing. New post, concrete footing below the wet zone, crushed stone backfill, rails reattached with lag screws. This is the repair that solves the problem.
- Hardware upgrades. Moving from deck nails to lag screws, adding a diagonal brace to a gate, replacing gate hinges with heavier-grade hardware. These hold.
- Panel replacement with matched wood species. Replacing a rotten panel with cedar in a cedar run, or with a cedar picket in a pine run that’s been painted to match. Doesn’t look new, but it holds.
- Post caps and end-grain sealing. Sealing the top of every post slows moisture uptake and picket splitting. Cheap, and it lasts.
Repairs that buy time:
- Packing dirt around a loose post. First rain or soil swell, it moves again.
- Adding a T-post or stake for support. Works for a season. The post underneath still fails.
- Painting or staining over rot. Seals moisture in. Makes the rot worse.
- Tightening hardware without replacing it. Stripped screws will strip again the next time the gate swings.
If you’re looking at a large run of fence that’s failing all at once, it’s usually less expensive over ten years to replace than to keep repairing. Driveway & Pavers in Plano covers the work we do on the adjacent hardscape; fence replacements often pair with that scope so the crew handles both in one visit.
How North Texas Heat and Clay Affect Your Fence Line
Plano fences face a specific pressure that fences in other parts of the country don’t: expansive clay soil that swells and shrinks with the seasons, plus a summer that pulls moisture out of fence wood faster than most homeowners would expect.
Our clay is montmorillonite-heavy and it moves. That movement is what makes post footings matter so much here. In the wet months, the clay around a shallow footing swells and pushes the post sideways. In the dry months, it shrinks and pulls away, leaving a gap. If a post was set only 18 to 24 inches deep, that movement breaks the footing loose within a season or two. If it was set deep enough with a proper concrete collar, the footing holds against the movement.
The summer heat is the other factor. UV exposure dries the pickets fast, which accelerates checking and splitting. Sealing the end-grain of every picket and post when it goes up, then re-sealing every two to three years, slows that a lot. If you’re adding onto the house at the same time you’re dealing with fence repairs, our Home Additions & ADU in Plano page covers the permit and inspection side of that work; many of our Plano customers fence and add in the same season.
The most common Plano fence-line issue we see that homeowners miss: downspout discharge. A post within three feet of a downspout gets constant water in the footing and rots from the base up faster than any other post on the fence. Rerouting a downspout is cheaper than the post replacement that follows.
Common Mistakes to Avoid
- Patching a symptom without checking the footing. If a post is leaning, the question is why, not how do I push it back. Packing dirt around it makes the problem worse because you trap moisture at the base.
- Tightening gate hinges without replacing the stripped screws. The hole in the wood is already worn. New screws in the same hole strip out within weeks.
- Sealing a fence in direct summer sun. In Plano, a picket surface can be 130 degrees or more in July. Sealant that goes on hot cures unevenly and cracks. Wait for a morning under 85 degrees.
- Adding a gate strut without a diagonal brace. A strut that just hangs below the gate doesn’t fix the racking. You need a diagonal brace across the gate frame.
- Planting vine cover over a failing panel. Ivy or jasmine hides rot and adds weight. A panel that needs a repair shouldn’t take on an extra load until the repair is done.
- Assuming permits are optional. A fence replacement that crosses a setback or right-of-way line in Plano needs to be checked against local code, and a permit you didn’t pull becomes a real problem when you sell the house. If a contractor tells you permits aren’t needed, that’s a signal they don’t want the inspector on-site.
- Calling a national company after a storm. The crew that answers won’t be the crew that shows up. Two weeks later, nobody remembers what was promised. Ask who will be on-site at the estimate before you sign anything.
See the difference
 Before
 After
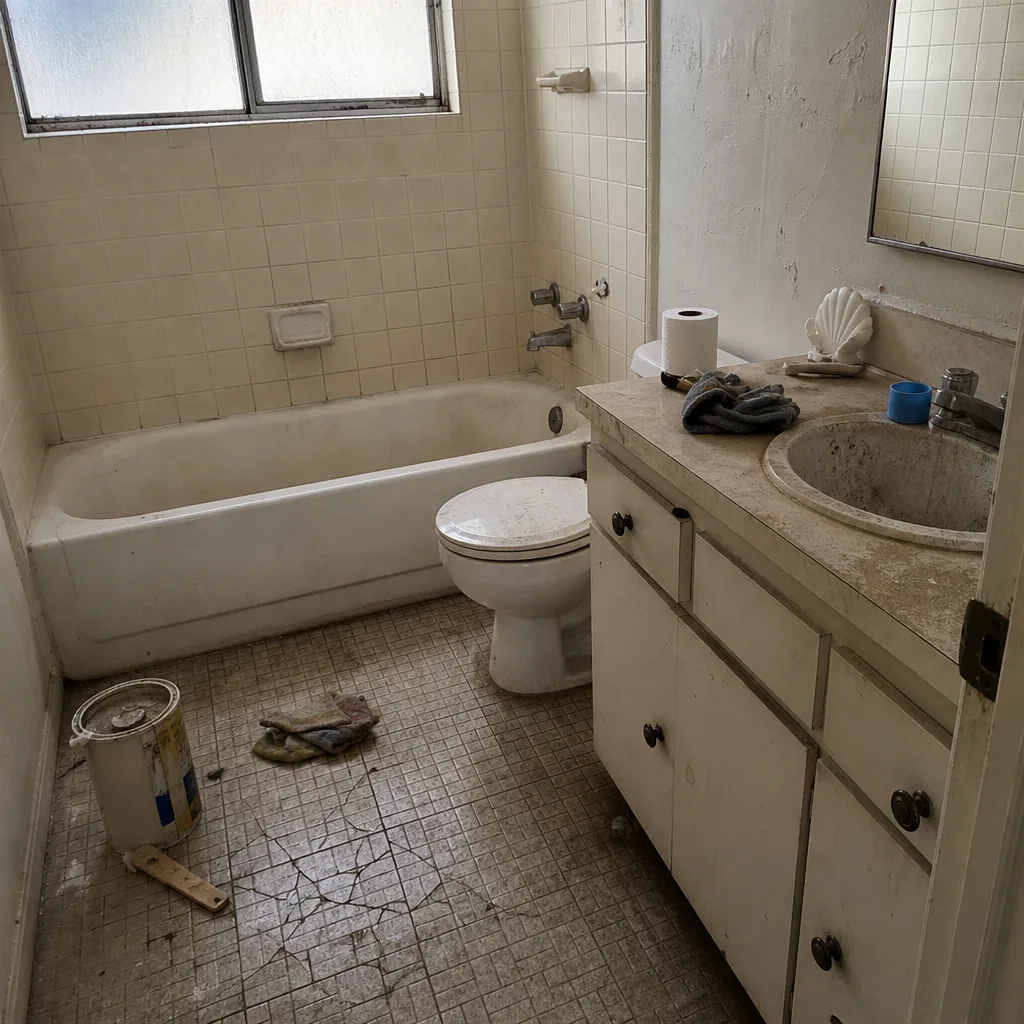 Before
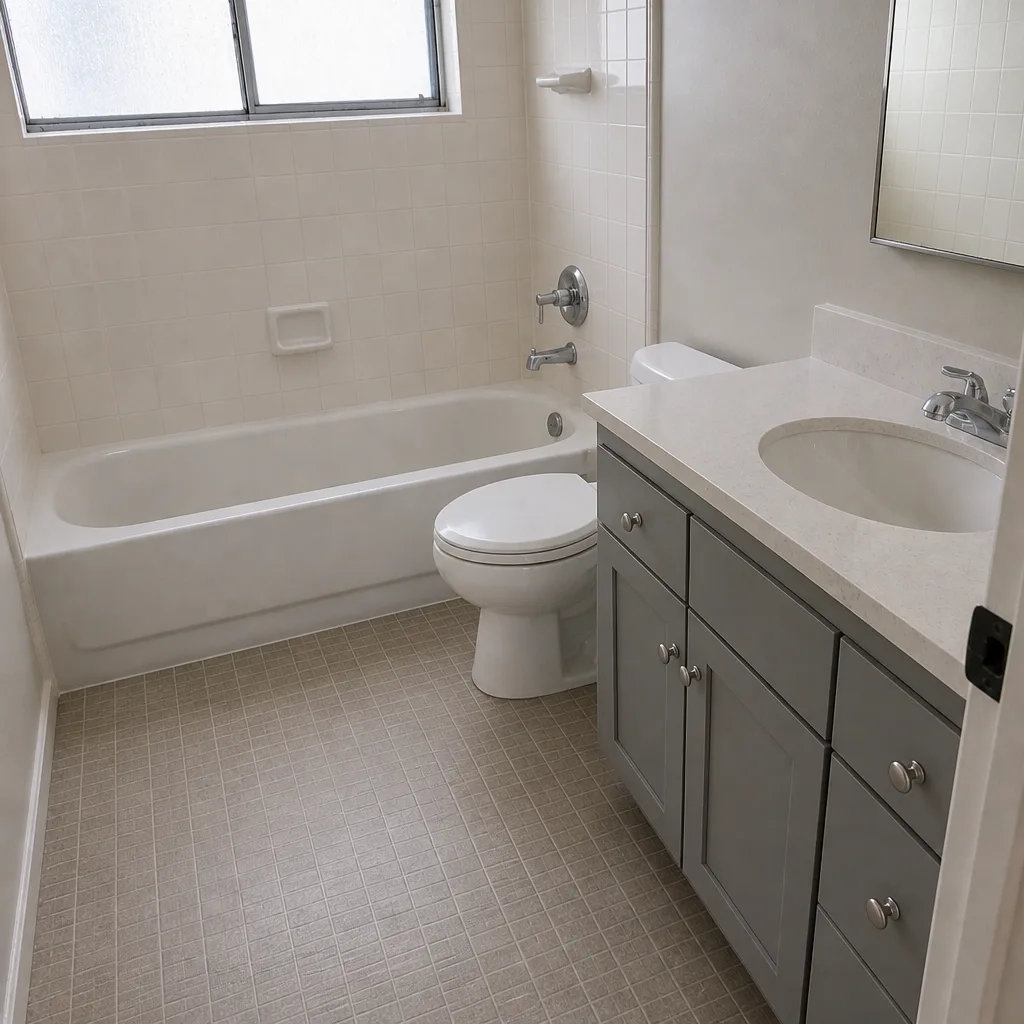 After
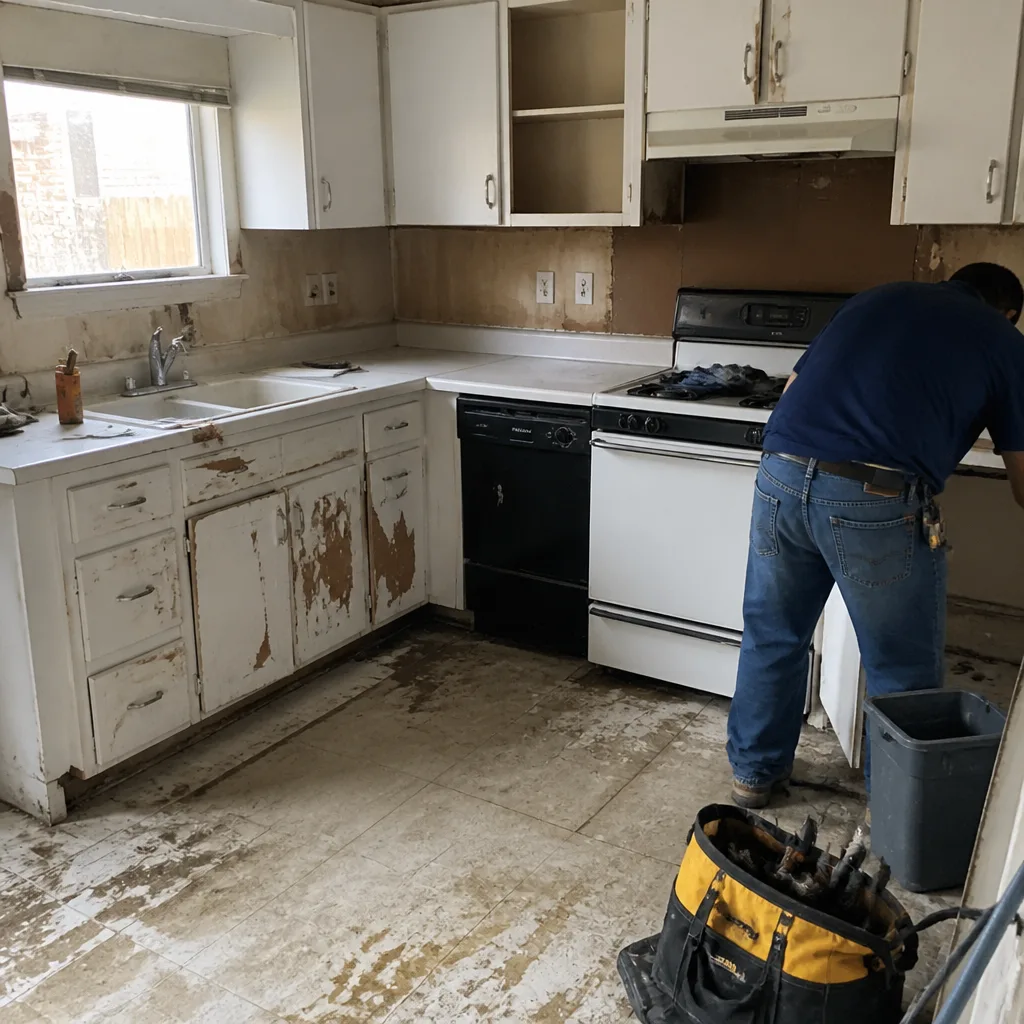 Before
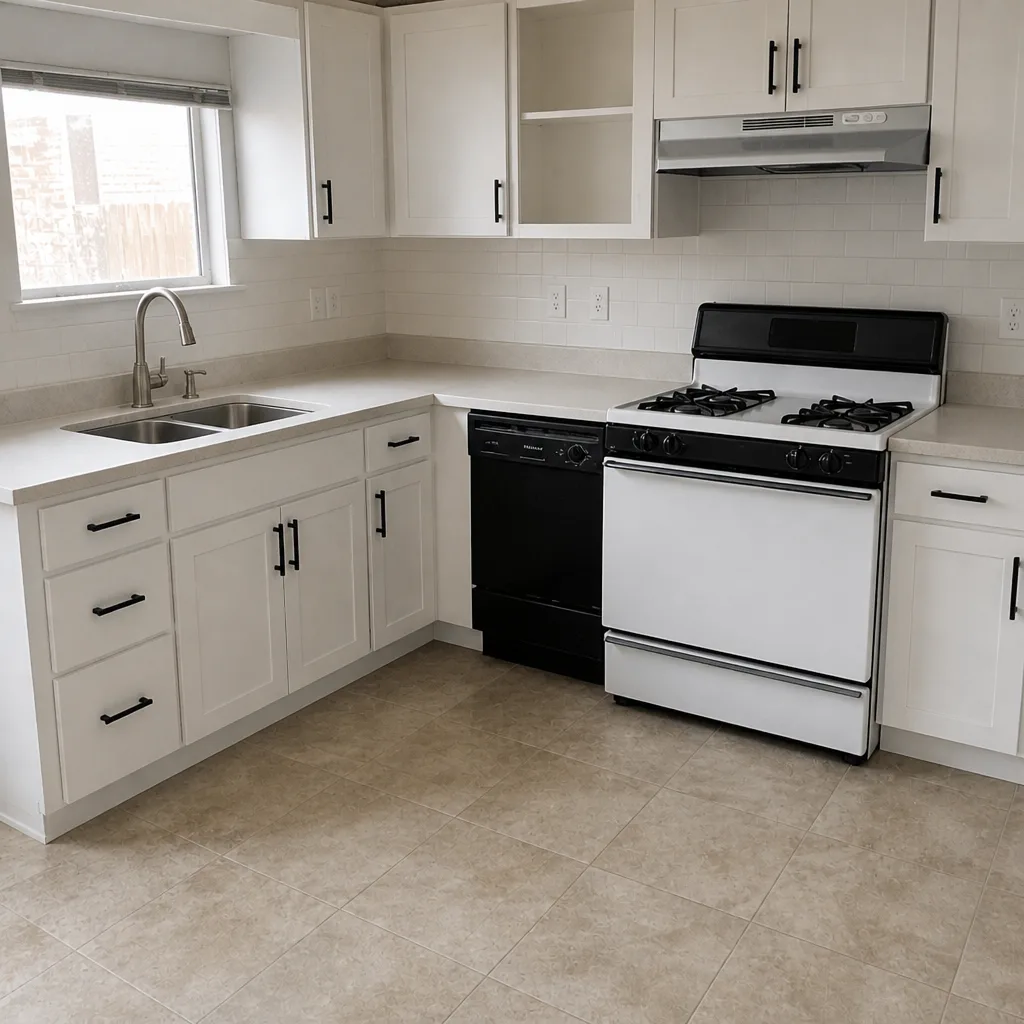 After
When to Call a Professional
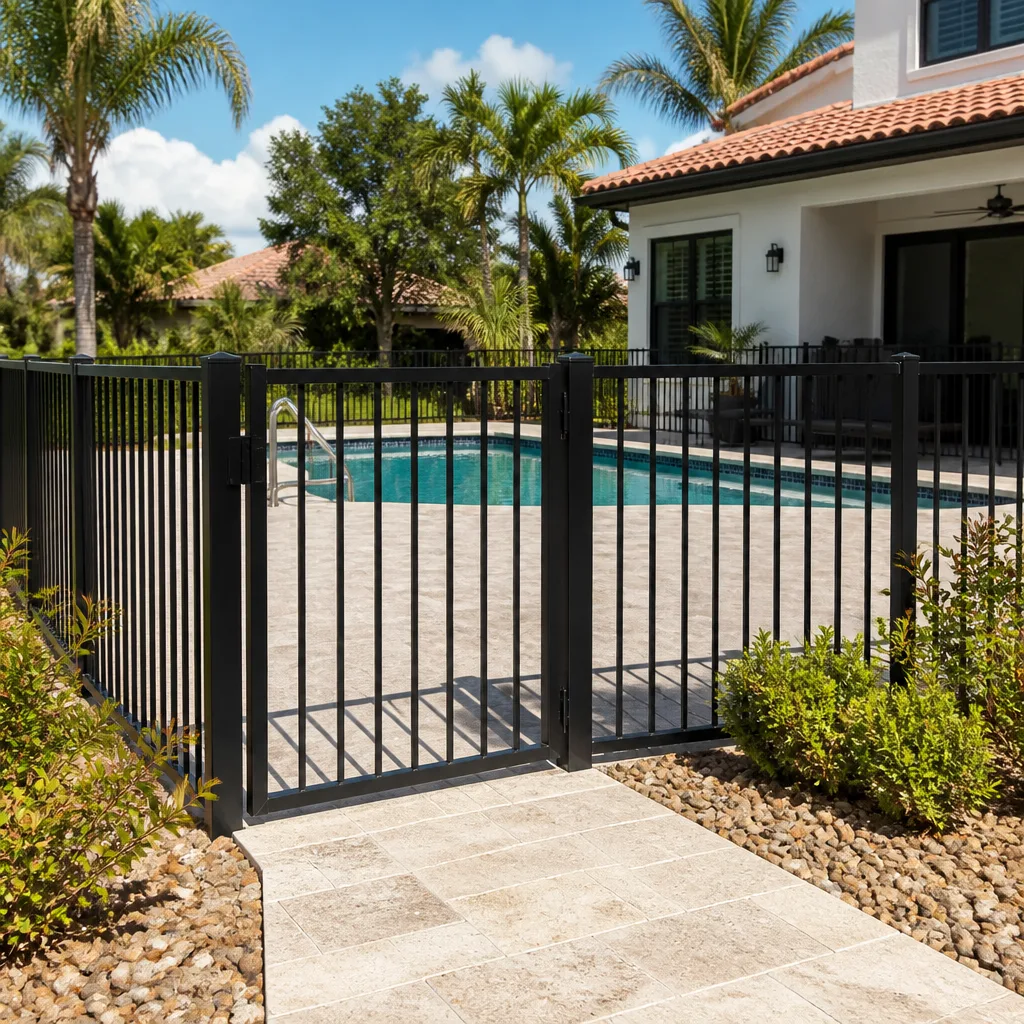
Some fence repairs are genuinely a homeowner’s weekend job – replacing a loose picket, tightening a gate hinge, sealing a few posts. Others are a call. Anything involving a post replacement with a new footing is a call, because a footing that goes in wrong creates the same problem you’re paying to fix. Any gate that racks, binds, or drags beyond a hinge adjustment is a call. Any fence line with more than two or three posts showing rot at the base is a call, because there’s usually more section failing than the eye catches. And if a storm has dropped a section or leaned a run more than a few inches, get it looked at before the next rain.
Barrett & Sons Construction Plano offers free estimates in Plano. Call (877) 382-4108 to schedule one.
Frequently Asked Questions
Most individual fence repairs in Plano fall in a broad range – post replacements typically run in the low-to-mid hundreds of dollars per post when a new footing is included, and gate hardware repairs run lower. A full fence line of failing posts is priced per section. Call (877) 382-4108 for an exact quote – estimates are free.
No. Every scope change and every price change on a job gets a written change order issued before the work proceeds, on every job we do. If the estimate was written accurately, the invoice matches it.
Yes, when a permit is required. Fence replacement and fence line changes that touch a setback or right-of-way in Plano need to be checked against local code, and we pull the permit and get the inspection signed where a permit is required.
Because packing dirt around the post doesn’t fix the footing. Plano’s clay soil swells in the wet season and shrinks in the dry season, and a shallow footing moves with it. The only lasting fix is a new post with a proper concrete footing set deep enough to hold through the clay movement.
Often, yes. Most sagging gates come down to loose hinges, stripped screws in the hinge side, a missing diagonal brace, or a hinge post that’s moved. Adjust the post first, then the hinges, then the latch. If the posts are off-plumb, that’s a bigger repair.
A single post replacement or a gate hardware job is usually a one-day visit. A full run of failing posts or a large fence replacement takes longer, and we put the schedule in writing before work begins so you know what to expect on the calendar.
The Bottom Line

Almost every fence problem that shows up in the yard traces back to the footing, the hardware, or the wood grade – not the surface symptom. Diagnose the cause before you fix the symptom, and the repair holds. Post replacements with a proper footing and hardware upgrades last; packing dirt and tightening stripped screws don’t. In Plano, the specific opponents are expansive clay and a long hot summer, and both punish shallow footings and dry pickets harder than most homeowners expect. Get the diagnosis right, and the fence stands.
If a repair is bigger than a weekend job, or you’re not sure which failure you’re looking at, call Barrett & Sons Construction Plano at (877) 382-4108 for a free estimate. We pull permits, put every scope and every price change in writing, and back the work with our 90-Day Done Right Promise.
Written by the team at Barrett & Sons Construction Plano.