Last updated November 18, 2026







Free written scope consultation - allowances, timeline, and change-order rules on paper before a single trade is scheduled
Home Additions & ADU Maintenance Schedule: What to Do and When
The caulk joint where your addition’s roofline meets the original siding will outlast its warranty in about three North Texas summers. By year four, water is moving behind that seam in ways you can’t spot from the ground or even from a ladder. That’s the part nobody tells you when the permits get signed: an addition or ADU isn’t just more house to maintain. It’s a set of new joints, seams, and systems that fail on their own clock, and most generic home maintenance checklists skip them entirely. This guide lays out what actually degrades first in Plano conditions, and when to look.
Quick Answer
Inspect your addition or ADU four times a year: a quick walk-around each season, a deeper exterior check every spring and fall, and a full systems review once a year before summer. The highest-priority items are the construction seams (roofline-to-siding, foundation ledges, window headers), year-one settling, and the ADU’s separate electrical panel, water heater, and mini-split equipment. Schedule the one-year walkthrough before your contractor’s warranty expires, not after.
Styles & brands we work with
- Kitchen remodeling
- Bathroom remodeling
- Home additions & ADU
- Roofing
- Windows & doors
- Driveway & pavers
- Fence
Table of Contents
- Why Additions and ADUs Need Their Own Schedule
- The Year-One Inspection: Before the Warranty Runs Out
- Exterior Transition Points That Fail First
- ADU-Specific Systems: Panel, Water Heater, Mini-Split
- The Four-Season Maintenance Calendar
- How to Document As-Built Condition for Resale and Insurance
- Structural Engineer or General Contractor? Where the Line Sits
- Common Mistakes to Avoid
Why Additions and ADUs Need Their Own Schedule
A house that’s stood for thirty years has already done most of its moving. The soil under it has settled, the framing has dried out, and the caulk has been redone at least once. An addition hasn’t. It’s sitting on its own foundation footing, tied into the original structure at a few specific points, and it will move differently than the main house does for the first several years. That difference in movement is where water gets in.
Plano sits on expansive clay soils that swell when wet and shrink hard in a dry summer. We’ve watched additions move through a full wet-dry cycle and find gaps that didn’t exist in month three. Add the freeze-thaw swings we get in February and March and the seams get worked from both directions. This isn’t a defect in the build. It’s how new construction behaves on this soil.
An ADU adds a second wrinkle. It’s often built as a detached structure or a garage conversion, which means it carries its own electrical panel, its own water heater, and often its own space conditioning. Those systems have service intervals that have nothing to do with the main house. Skip them and you’ll find out the expensive way.
So the maintenance question isn’t “does my house need maintenance.” It’s “which parts of my addition are on their own clock, and where do I look?” That’s what the rest of this schedule is for. If you’re still in the planning stage, our Home Additions & ADU in Plano page covers what gets built and permitted. This page is what happens after.
The Year-One Inspection: Before the Warranty Runs Out
The single most valuable hour you’ll spend on your addition happens right before the warranty ends. Most workmanship warranties run twelve months from substantial completion. Do the walkthrough in month eleven, while you still have a professional on the hook to fix what you find.
Here’s the checklist we’d hand a homeowner in Plano:
- Settling check. Look at the corners where the addition meets the original structure. Hairline cracks in drywall at those corners are normal. Cracks wider than a credit card, doors that suddenly stick, or a floor that’s gone noticeably out of level are not.
- Caulk and sealant at every seam. The roofline-to-siding joint, around every window and door, and along the base where siding meets the foundation. Press a thumb into the caulk. If it’s cracked, shrunken, or pulls away, it needs to be cut out and redone before year two.
- HVAC performance. Pull the filter, look at the coil, and note whether the addition heats and cools evenly with the rest of the house. A room that runs hot in July or cold in January usually points to a duct problem or a sizing problem, and both are warranty conversations.
- Attic and crawl access. If your addition has an accessible attic or crawlspace, look for daylight, water stains, or insulation that’s fallen out of place.
- Flashings at roof penetrations. Vents, skylights, and the valley where the new roof meets the old one.
- Every door and window. Open and close each one. Note anything that drags or won’t latch.
Photograph all of it. Then send the list to your contractor in writing and ask for a response in writing. That’s the whole point of the year-one window: it’s your one free chance to have someone else fix what settled wrong.
Exterior Transition Points That Fail First
Every seam on your addition is a transition, and transitions are where water wins. In our experience around Plano, these are the four that need eyes on them every year, ideally twice a year:
- Roof valleys and the roofline-to-siding seam. This is the joint from the opening. Water runs down the original roof plane, hits the new addition’s roof, and gets channeled into a valley. If that valley flashing is compromised or the caulk seam above it has opened, water follows the siding down behind the sheathing where you can’t see it. Check in early spring after the last freeze and again in the fall.
- Foundation ledges and brick ledges. Where the addition’s foundation steps down to the original, there’s a horizontal shelf that collects water and debris. Look for efflorescence (that white powdery staining), rusted flashing, or soil that’s settled away from the wall. Keep mulch and dirt two inches below the siding, not touching it.
- Window headers. The beam above each window carries a real load and sits in the wall where moisture collects. Water staining, paint bubbling, or soft wood at the header are early warnings. Feel for softness with a screwdriver handle, not a blade.
- Where the new roof meets the old wall. The flashing detail there is fiddly and easy to get wrong. If you see mineral granules from the shingles collecting on the ground below, the flashing may be abrading the shingle edge, and that’s a call sooner rather than later.
None of these need special tools to inspect. A flashlight, a pair of binoculars for the roofline, and a hose in dry weather to watch where water runs will tell you most of what you need to know. Anything you can’t reach from the ground safely is a job for someone with a ladder and the training to use it.
If you’re also maintaining fencing around the addition or outbuilding, that’s its own inspection pattern. Our Fence Installation in Plano page walks through the brands we install (Bufftech and ActiveYards among them) and how those hold up to North Texas weather.
ADU-Specific Systems: Panel, Water Heater, Mini-Split
An ADU’s systems don’t age like the main house’s. They run less, they sit idle longer, and they usually have their own separate service schedule. Here’s how to think about each one.
Separate electrical panel
Most ADUs get their own subpanel or service. Once a year, open the panel door (look, don’t touch) and check for scorching, a burnt smell, or breakers that trip repeatedly without a load change. Two trips in a season is a service call, not a nuisance. Every few years, have an electrician torque the lugs and check the grounding, because loose connections heat up silently. This is one place we don’t recommend DIY beyond the visual check.
Tankless water heater
Tankless units in Plano need a descaling every twelve to eighteen months, depending on how hard your water runs. Hard water here is a real factor; scale builds on the heat exchanger and the unit loses efficiency quietly before it stops working. If the hot water takes longer to arrive or the temperature fluctuates, descaling is overdue. Most manufacturers also want the inlet filter cleaned every few months.
Mini-split systems
Mini-splits are common in ADUs because they’re efficient and don’t need ductwork. They need the indoor filter cleaned monthly during heavy use, the outdoor coil rinsed seasonally, and a professional check of refrigerant charge and line-set connections every two to three years. Ice on the outdoor unit, or a unit that runs constantly without cooling, means a call.
Smoke and CO alarms
Test monthly, replace batteries yearly, and replace the whole alarm every ten years. An ADU is a separate dwelling, which means it needs its own alarm coverage, and a tenant or family member’s safety depends on it working.
The Four-Season Maintenance Calendar
Here’s the schedule we recommend for an addition or ADU in Plano. It follows the weather and code cycle.
Spring (March – May)
- Walk the exterior after the last freeze and inspect every caulk joint, especially the roofline seam and window headers.
- Clear debris from roof valleys and gutters.
- Test the AC before the first 95-degree day, and check the ADU’s mini-split the same week.
- Check soil grade around the addition’s foundation and pull mulch back from the siding.
Summer (June – August)
- Clean or replace HVAC filters monthly.
- Watch for water staining after heavy rain, especially at the new roof-to-old-wall junction.
- Descale the ADU tankless water heater if it’s been twelve months.
Fall (September – November)
- Second full exterior inspection before the first freeze. Re-caulk anything that opened.
- Clean gutters and downspouts; confirm downspouts discharge away from the addition’s foundation.
- Test the heating system, and check the mini-split’s heat mode.
- Trim back tree limbs overhanging the new roof.
Winter (December – February)
- During hard freezes, leave cabinet doors open under sinks on exterior walls and let a faucet drip in the ADU.
- Check for ice dams or icicles at the addition’s roofline; icicles are a sign heat is escaping.
- Test smoke and CO alarms and replace batteries.
- Keep an eye on interior drywall corners for new cracking as the soil moves.
Write these dates on the calendar and treat them like the dentist. Four short visits a year, done on schedule, catch almost everything early. Skipped, the same items turn into repairs measured in thousands.
How to Document As-Built Condition for Resale and Insurance
Here’s a step most homeowners skip entirely: photograph and document the addition’s condition at the moment it’s finished, and again at each annual inspection. That baseline becomes your most useful maintenance tool for the next twenty years.
- At completion: take dated photos of every room, every mechanical system, the electrical panel label, and the pipe and wire locations before the drywall went up if you have them. Keep the permit inspection signed-off sheet.
- Store the photos in the cloud. A folder shared with your insurance agent, titled by date, is worth more than any filing cabinet.
- Every year, re-shoot the same angles. Same rooms, same exterior seams. Side-by-side comparisons make a crack that’s grown obvious.
- Note dates of any repairs. If you re-caulk a seam or replace a filter, jot it down. Future you will thank present you.
- Keep the change orders. If work on your addition was ever modified by a written change order, that paper belongs in the same folder as the photos.
Why does this matter for resale? Buyers and their inspectors ask for it. Insurance claims after a storm go smoother when you can show what a room looked like before the damage. And if you ever sell, a documented maintenance record is a quiet signal that the addition was cared for. It also makes a professional walkthrough faster and cheaper.
Structural Engineer or General Contractor? Where the Line Sits
This is the question we get most, and the answer is mostly about symptoms. A general contractor handles maintenance, repair, and finishing. A structural engineer diagnoses movement and load problems and stamps the fix. Here’s how to tell which you need.
Call a general contractor if: a caulk joint opened, a shingle lifted, water stained a ceiling in one spot, a filter needs changing, a door drags slightly at a corner, or a mini-split lost its charge. These are maintenance items and someone with experience can assess and repair them.
Call a structural engineer if: you see stair-step cracks in the brick or foundation, cracks wider than a credit card in interior walls, a floor that’s gone out of level by more than an inch over ten feet, doors that bind in multiple rooms at once, separation of the addition from the original structure, or water intrusion that keeps coming back after two proper repairs. Those symptoms cross the line from maintenance into movement that needs diagnosis before repair.
You can also call an engineer first if you’re planning to sell and the buyer’s inspector flagged something. An engineer’s report gives you a documented answer; a contractor’s fix without diagnosis can mask a problem that comes back.
We’re happy to look at a concern and tell you plainly which one you need. If it’s a maintenance repair, we can quote it. If it’s a structural question, we’ll say so and point you to an engineer rather than patch something that needs diagnosing. In Plano, we get asked about this most often on older homes where a new addition ties into a 1970s foundation, and the honest answer depends on what the cracks actually look like.
Common Mistakes to Avoid
- Skipping the year-one walkthrough. The window closes at twelve months. Homeowners in Plano who let it pass end up paying for settling repairs that would have been warranty work. Do the checklist in month eleven, in writing.
- Treating the addition like the main house. The seams created by construction need their own look, every year. A general home check misses the roofline valley and the foundation ledge every time.
- Caulking over a wet or open seam. If water is already behind the siding, sealing the surface traps it. Find the source first, then seal.
- Ignoring the ADU’s separate systems. The mini-split filter, the tankless descale, and the panel torque all run on their own clocks. Forgetting them shortens the life of equipment that wasn’t cheap.
- Not photographing anything. Without a baseline you can’t tell whether a crack is new or five years old. A ten-minute photo session each year solves it.
- Patching a structural symptom without a diagnosis. If the cracks are wide or the floor is out of level, repair without an engineer’s eye can hide the problem and cost more later.
- Letting mulch and soil touch the siding. In Plano’s climate, the two-inch gap between grade and siding is not optional. It’s the difference between a dry wall cavity and a wet one.
When to Call a Professional

Call a professional when the item is beyond a visual check: any roof work, any electrical panel work, anything that involves a ladder higher than you’re steady on, and anything that crosses from maintenance into movement. Persistent water intrusion at a seam you’ve already re-caulked twice, a mini-split that won’t hold temperature, a tankless heater that’s never been descaled, or cracks that have visibly grown since last year all warrant a trained eye. For structural symptoms, get an engineer. For repair and maintenance, a general contractor with permits and a written warranty should be the standard, not the exception.
Barrett & Sons Construction Plano offers free estimates in Plano. Call (877) 382-4108 to schedule. A live person answers, and every job comes with our written 90-Day Done Right Promise. If it isn’t done right, one call brings Tom back to make it right.
For homeowners whose addition includes a new driveway or patio, that’s also on a schedule. Our Driveway & Pavers in Plano page covers how Belgard and Techo-Bloc hardscapes hold up to North Texas clay and heat. And for anyone starting a project from scratch, or comparing an addition against building out a garage conversion, the whole-home overview on our Barrett & Sons Construction Plano home page is the place to start.
See the difference
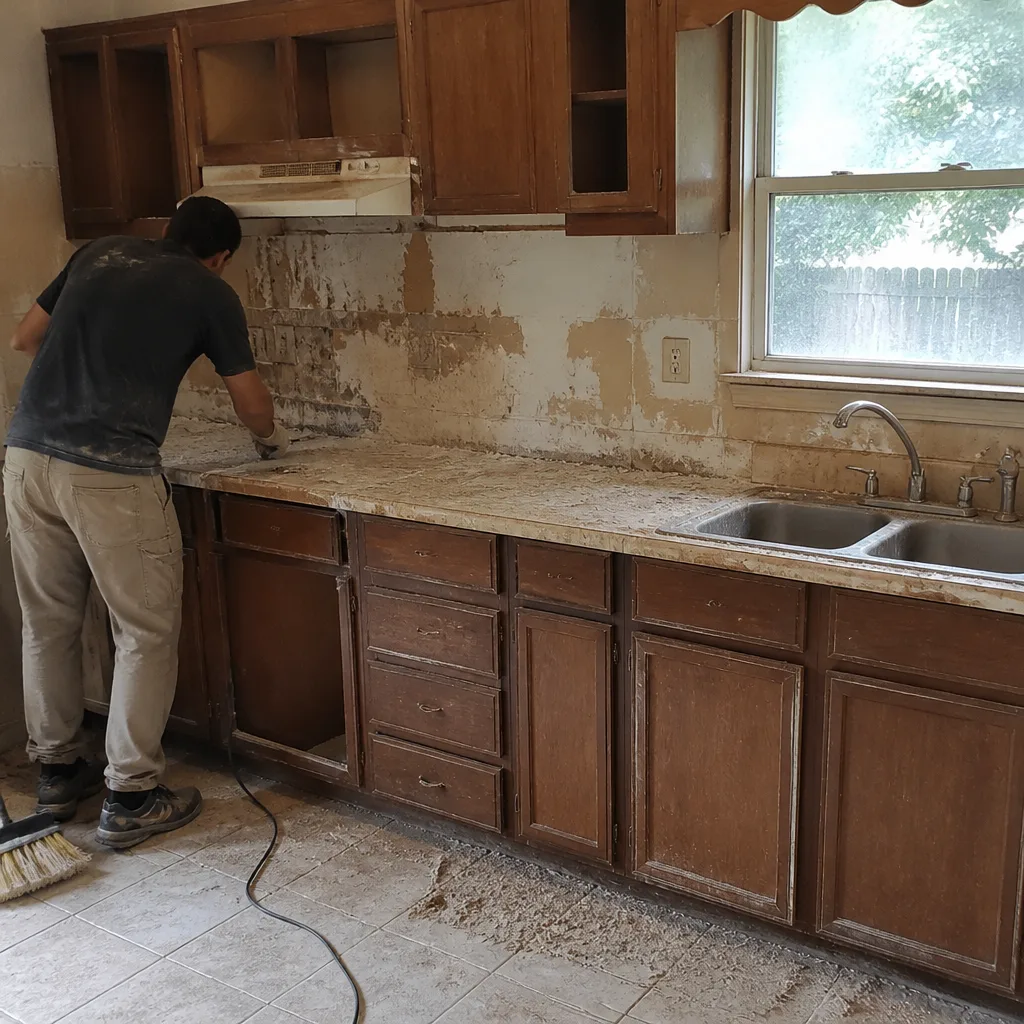 Before
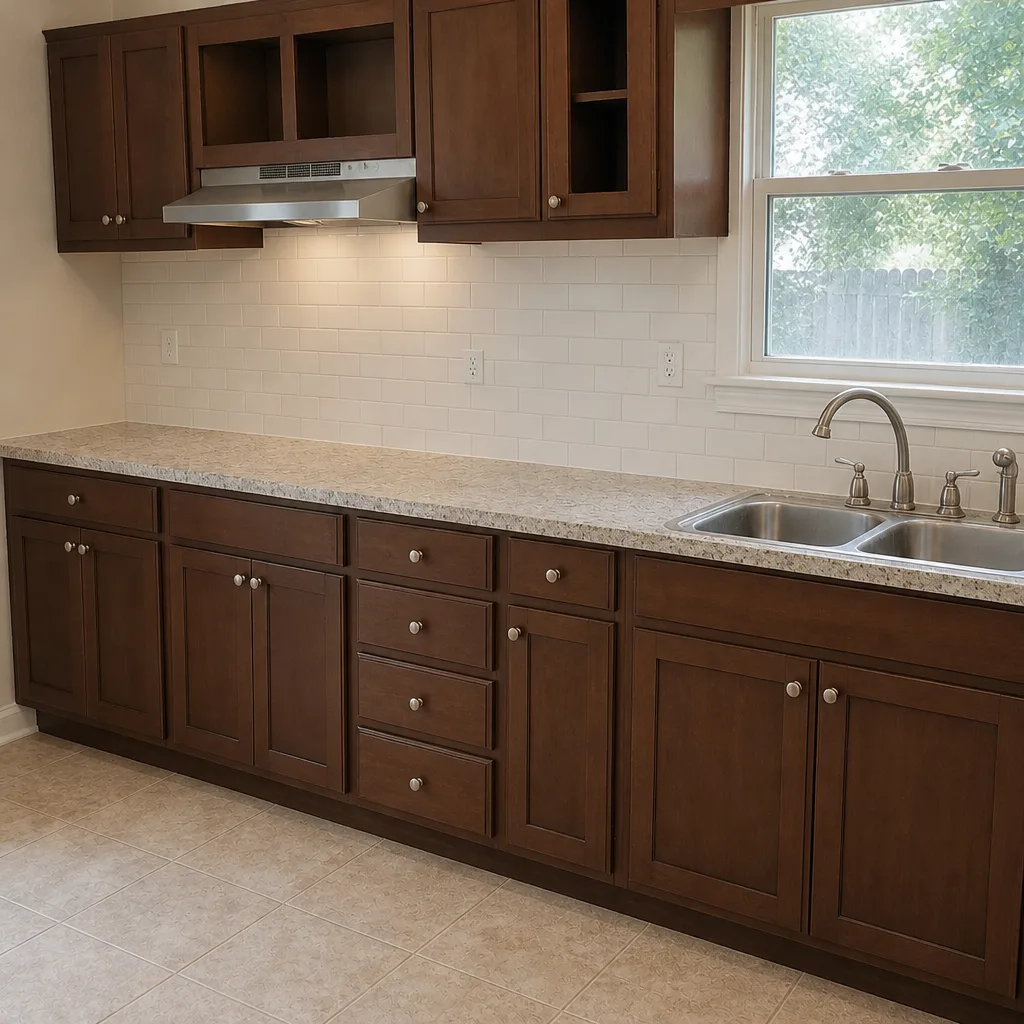 After
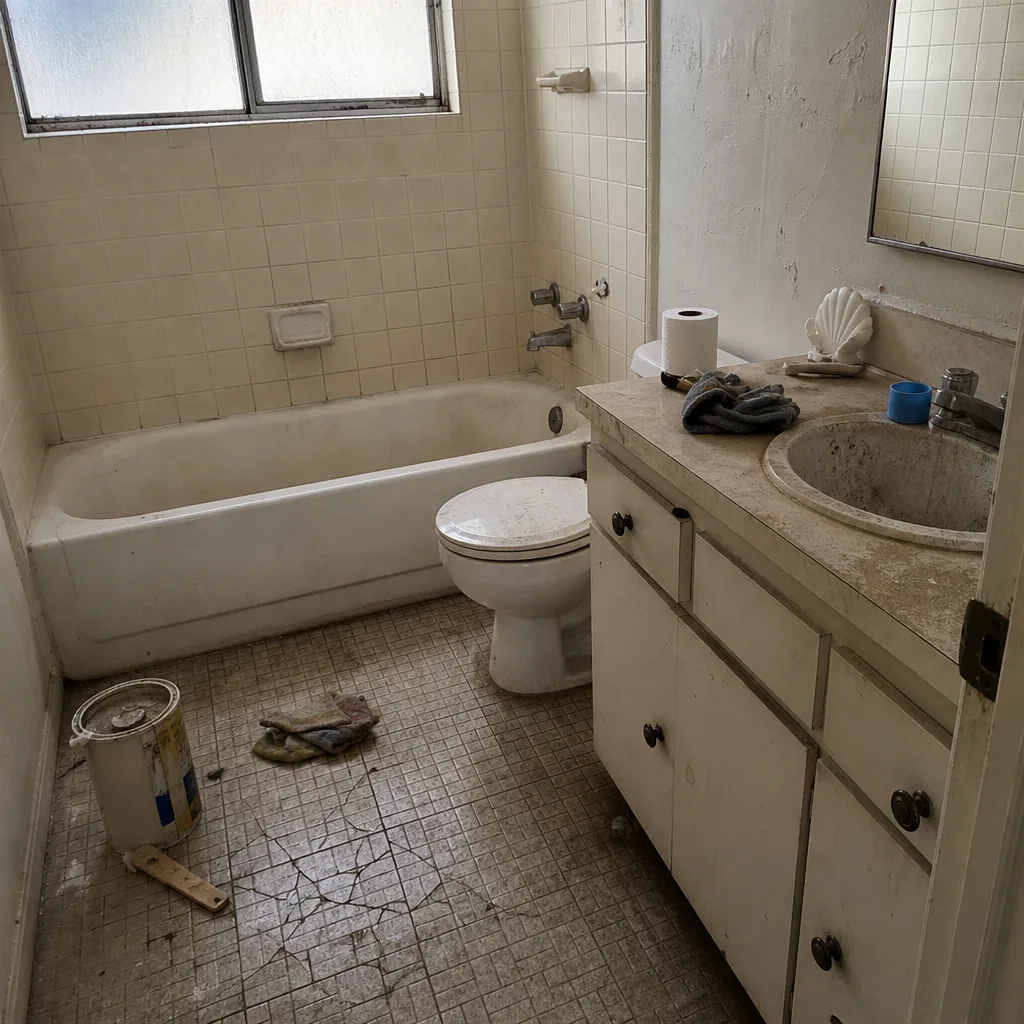 Before
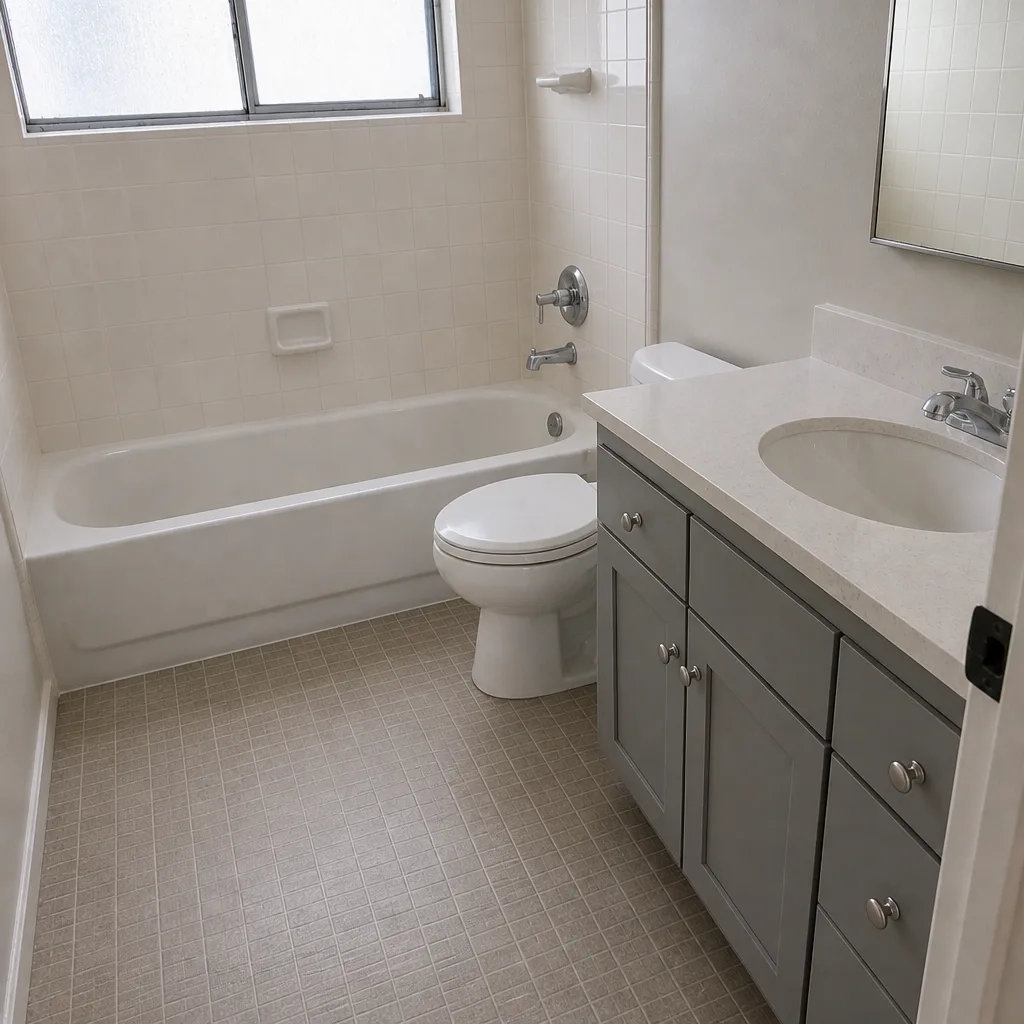 After
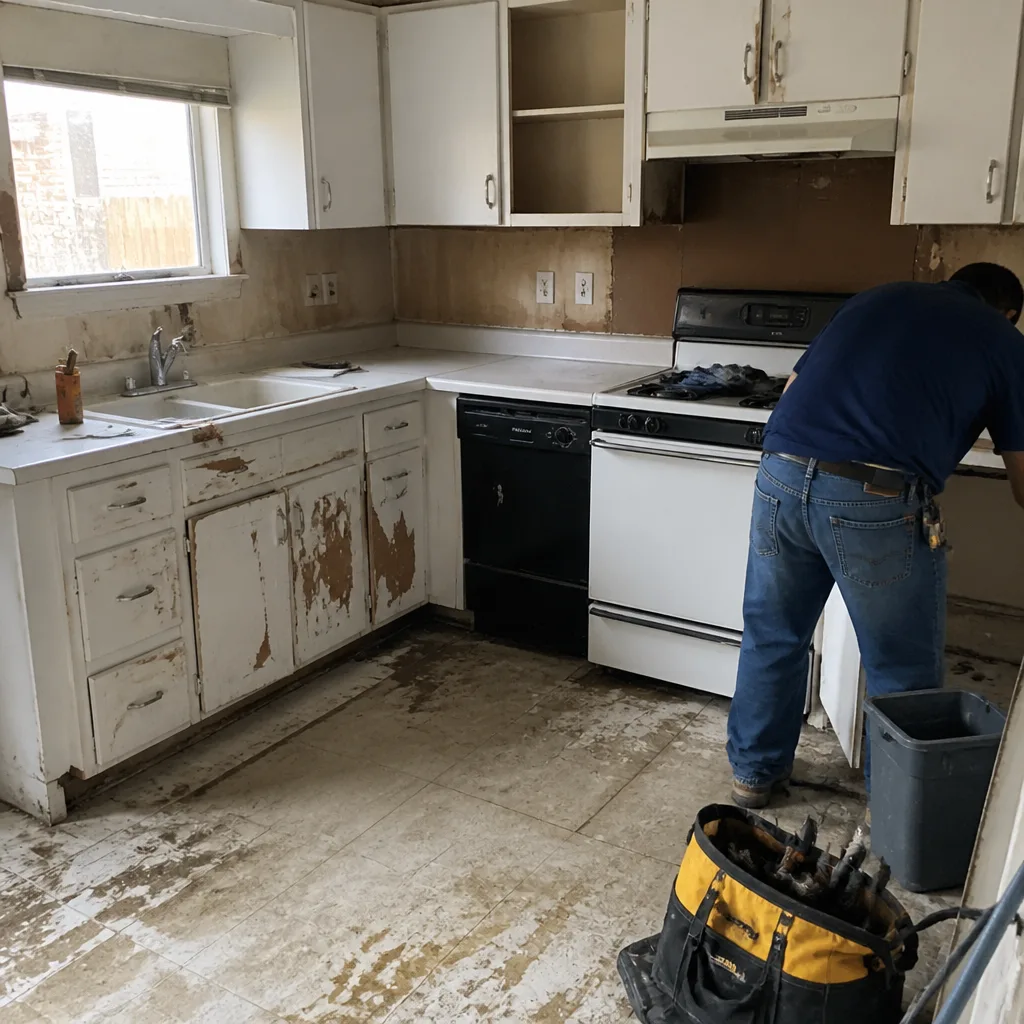 Before
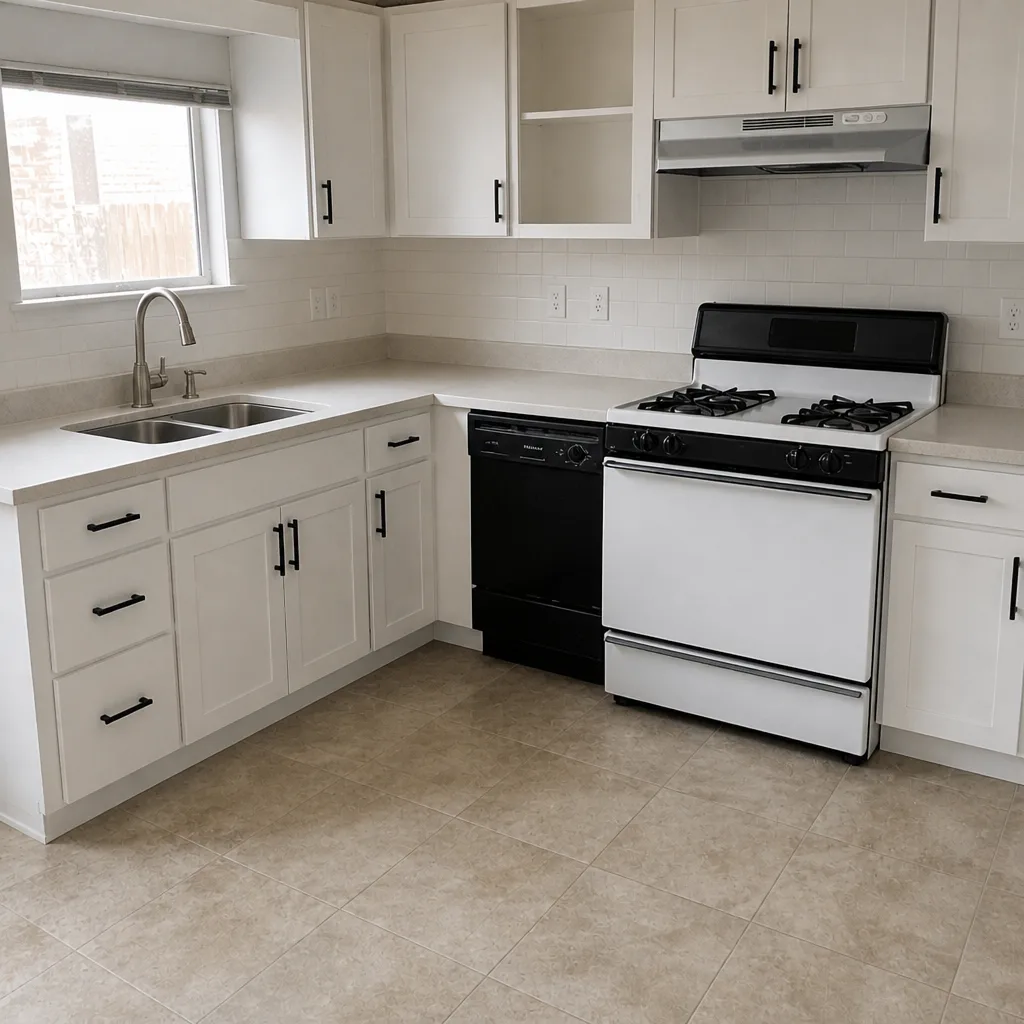 After
Frequently Asked Questions
Four times a year is the right rhythm: a quick walk-around each season, a full exterior inspection in spring and fall, and a systems review once a year. The construction seams at the roofline, foundation ledge, and window headers are the priority, because they’re where water gets in first on Plano’s clay soils. If you only do one thing, do the spring and fall exterior checks. Call (877) 382-4108 if you want a professional walkthrough; estimates are free.
Three items stand out: the separate electrical panel, the tankless water heater, and the mini-split system. The panel needs a visual check yearly and an electrician’s torque check every few years. The tankless heater needs descaling every twelve to eighteen months in Plano’s water. The mini-split needs monthly filter cleaning and a professional refrigerant check every two to three years. Each runs on its own schedule, separate from the main house. Call (877) 382-4108 for a free estimate on any of them.
In month eleven, before the twelve-month warranty expires. That gives you time to send the findings in writing and get repairs completed inside the window. The walkthrough should cover settling at the joint to the original structure, every caulk and sealant joint, HVAC performance, and flashings at roof penetrations. Photograph everything and keep the record. Call (877) 382-4108 to schedule a professional year-one walkthrough in Plano.
A structural engineer diagnoses movement and load: whether foundation cracks, out-of-level floors, or separation between the addition and original structure are a structural problem or cosmetic. A general contractor repairs and maintains, but doesn’t stamp a diagnosis. Call an engineer if you see stair-step cracks in brick, cracks wider than a credit card, or multiple doors binding at once. For everything else, call (877) 382-4108 for a free estimate.
Photograph every room, every mechanical system, the panel label, and the exterior seams at completion, and again each year from the same angles. Store the photos in the cloud and keep the signed permit inspection sheet and any written change orders in the same folder. That baseline makes insurance claims and resale inspections much easier to navigate. We can walk you through what to capture. Call (877) 382-4108 for a free estimate in Plano.
Not every repair needs a permit, but the ones that do get one, and the inspection gets signed. Structural repairs, electrical panel work, and anything that touches framing or load-bearing elements cross the permit line; simple caulking and filter changes don’t. We’ll tell you plainly which side a job falls on before work begins, and every price change arrives as a written change order beforehand. Call (877) 382-4108 to schedule a free estimate in Plano.
The Bottom Line
Your addition or ADU needs attention at the specific joints and systems created by construction, not at the same checkpoints as the rest of the house. In Plano, that means the roofline-to-siding seam, the foundation ledge, the window headers, and the new roof valley get inspected every spring and fall. The ADU’s panel, tankless heater, and mini-split each run on their own interval. Do the year-one walkthrough in month eleven before the warranty closes, photograph everything as a baseline, and know when a symptom crosses the line to a structural engineer. Mailbox reminders don’t fix seams. Dates on the calendar and a quick look twice a year do. When a concern is past a visual check, we’re a phone call away.
Contact
Barrett & Sons Construction Plano has been doing this work since 1998, and our technicians have up to 28 years of experience. We pull every eligible permit and get the inspection signed. Every scope, allowance, and price change is in writing before a nail moves. If you’re in Plano and want a free estimate on maintenance, repair, or a new addition, call (877) 382-4108. A live person answers 24 hours a day, seven days a week, and Tom and his sons are on-site most days, so the person who quotes your job is the same person who shows up.
Written by the team at Barrett & Sons Construction Plano.