Last updated November 18, 2026

Free written scope consultation - allowances, timeline, and change-order rules on paper before a single trade is scheduled
Driveway & Pavers Troubleshooting: Common Problems and How to Fix Them
If a paver in your driveway has sunk once, it will sink again – unless you fix what’s underneath it. Replacing the paver itself without pulling it and inspecting the base is roughly $200 of work that buys you about 18 months before you’re back in the same spot. That’s the hard lesson we’ve walked Plano homeowners through more times than we can count. This guide shows you how to tell a surface problem from a base failure, how Plano’s clay soil and drought cycles create their own settling patterns, and which repairs you can safely handle yourself before you spend a dollar on anything.
Quick Answer
Most driveway paver problems in Plano come down to two things: loose sand under the pavers (bedding washout) or a compacted base that was never done right to begin with. Surface fixes like replacing a single sunken paver or refilling joints last about 18 months. Getting it right means pulling the affected section, checking the base depth and compaction, and resetting it – usually a few hundred to a couple thousand dollars depending on how much of the driveway is involved.
Styles & brands we work with
- Kitchen remodeling
- Bathroom remodeling
- Home additions & ADU
- Roofing
- Windows & doors
- Driveway & pavers
- Fence
Table of Contents
- Why Do Pavers Sink? Base Erosion vs. Root Intrusion vs. Bad Compaction
- Polymeric Sand Failure vs. Bedding Sand Washout
- Pavers That Rock or Rattle: The Problem You Can Hear
- How Plano’s Drought Cycles Cause Different Settling Than Rain Erosion
- A 5-Step Diagnostic: Find the Root Cause Before You Fix Anything
- Which Paver Repairs You Can Do Yourself vs. What Requires a Crew
- What Paver Repairs Cost in Plano
Why Do Pavers Sink? Base Erosion vs. Root Intrusion vs. Bad Compaction
A sunken paver is a symptom. The question you need to answer before buying anything is which of three causes you’re dealing with in your driveway.
Base erosion happens when water gets under the pavers and moves the aggregate base or the bedding sand sideways. You’ll usually see it after heavy spring storms, especially near the edges of the driveway or where a downspout dumps onto the pavers. The dip tends to be broad and shallow, often 1 to 2 inches over a few square feet.
Root intrusion comes from a nearby tree – live oak and pecan are common offenders in Plano neighborhoods like Willow Bend and Deerfield. Roots push up under the base, creating a lift on one side and a corresponding dip on the other. The pattern is usually a low spot directly next to a high paver, often within a foot or two of each other.
Improper compaction at installation is the hardest to spot and the most frustrating to live with. If the base was laid in thin lifts or never compacted with a plate compactor in multiple passes, the pavers will gradually settle over two to five years, sometimes more. The settling isn’t in one spot – it’s often a broad section that slowly dips in a wave pattern. If you bought a home with an existing driveway in Plano, this is worth checking before you sign anything on a repair quote.
Each cause has a different fix. Replacing the paver won’t help if the base under it is moving.
Polymeric Sand Failure vs. Bedding Sand Washout
Two sand problems look similar from the surface but need completely different repairs. Getting this wrong wastes your money twice – once on the wrong fix, then again on the real one.
Polymeric sand failure is what you see at the joints. The sand hardens into a crust that cracks, crumbles, or pulls away from the paver edges. Causes include installation when the pavers were wet, applying it in direct summer heat (Plano August afternoons will do it), or simply age – polymeric sand typically lasts four to eight years before it starts breaking down. You’ll see loose grit in the joints and grass or weeds poking through. This is a surface fix – remove the failed material, clean the joints, and reapply.
Bedding sand washout is a structural problem. The bedding sand is the 1-inch layer between the pavers and the compacted base. When it washes out – usually from water running under the pavers from a poorly drained edge, a broken sprinkler line, or a slope that lets water pool – the pavers have nothing holding them up. You’ll see dishes or hollows across a section, not just at the joints. Press down on the pavers in the affected area and you’ll feel them give and settle.
The tell: if the joints look bad but the pavers feel solid, it’s a joint problem. If the pavers themselves give when you press, it’s a base problem and no amount of polymeric sand will fix it.
Pavers That Rock or Rattle: The Problem You Can Hear
Pavers that rock under tire weight are telling you something more serious than pavers that just look uneven. A paver that rocks means it’s no longer fully supported – there’s a void under one corner or edge. That void spreads. Every time you drive over it, the paver shifts slightly, working more sand out from underneath and loosening the pavers around it.
In our experience around Plano, a rocking paver in the middle of a driveway usually traces back to one of these:
- Bedding sand loss directly under the paver, often after a sprinkler leak or heavy runoff from the yard
- A paver that was cut short at installation and never had proper base support
- Compaction failure in a localized area, common in driveways installed over expansive clay without a proper geotextile layer
- Root interference lifting or dropping the base under that paver
You cannot fix a rocking paver by topping it with sand. Pull it, inspect what’s underneath, and rebuild from the base up. If you’re not ready to do that, leave it – rocking pavers at least drain. A silicone patch over a rocking paver traps water and makes the problem worse.
If the whole drive is starting to look and sound bad, it might be time to look at a full Driveway & Pavers in Plano evaluation before deciding on spot repair.
How Plano’s Drought Cycles Cause Different Settling Than Rain Erosion
Most paver repair advice online is written for wet climates. Plano has the opposite problem more of the year.
Plano sits on expansive clay soil. In a wet spring, that clay swells. In a dry July and August – and for weeks in between when we’ve had 30 days without rain and temperatures over 100 – it shrinks. Pavers set on clay that wasn’t properly prepared will shift with the soil. That’s why a Plano driveway can look perfectly level in April and show a distinct dip by August. The soil under it didn’t wash away; it dried and shrank, and the pavers followed it down.
The pattern looks different from rain erosion:
- Drought settling shows as broad, shallow dips spread across a section, often with no visible water line, no staining, and no apparent gap at the edges. It’s slow.
- Rain erosion is more dramatic. You’ll see a defined rut or trench, often along the edge of the drive or below a downspout, and it may appear after one heavy storm. Mud or sand is usually visible somewhere nearby.
Summer-dry settling can also loosen joint sand faster because the pavers move slightly in every direction during the shrink-swell cycles. If you notice your Plano driveway getting sandier near the joints each summer, that’s a good sign the base wasn’t properly stabilized before pavers were set.
A 5-Step Diagnostic: Find the Root Cause Before You Fix Anything
Here’s the process we walk a homeowner through on a repair estimate. You can do most of it yourself in 20 minutes with a hose, a hand trowel, and a level.
- Map the problem areas. Walk the driveway with a piece of chalk and circle every sunken, rocking, or lifted paver. Take a photo of the whole drive from the street. Are the problems in one cluster or spread all over?
- Press and listen. Push down on each circled paver with your foot. If it rocks or makes a soft rattle under your weight, note it. Sufficiently supported pavers shouldn’t move at all under normal foot pressure.
- Check the joints. Look for missing sand, weeds, and cracks in the polymeric material. Kneel down and check if the sand under the joint feels loose or whether there’s a hole.
- Look for water. Where does the driveway shed water when it rains? Look for low spots near the house, the sidewalk, or drive edges. Check that downspouts deposit water at least 4 feet from the driveway, not onto it.
- Pull one paver. Only do this in a problem area you already plan to fix. Pry up one paver and look at what you’ve got. If the bedding sand is intact and the base is firm but the paver’s joint was the problem, you have a simple fix. If you see hollows, loose sand, or a wobbly base, you’ve got a structural fix.
Write down which of the three causes from earlier applies. That diagnosis tells you what to budget for and whether you’re calling a contractor or reaching for a trowel.
Which Paver Repairs You Can Do Yourself vs. What Requires a Crew
Some paver problems are genuinely homeowner work. Others look easy and aren’t. Here’s the honest split.
Steps you can do yourself
- Refilling polymeric sand joints on an otherwise solid driveway. Remove the old, failed sand with a screwdriver or oscillating tool, sweep in new polymeric sand, tamp it, and mist with water. Follow the bag instructions exactly. In Plano’s heat, avoid installing in direct sun (it sets too fast and crusts before it fills).
- Pulling up one loose paver and replacing it. If it’s a single paver in an otherwise stable section and it’s still perfectly supported underneath by firm sand and a solid base, you can reset it yourself.
- Cleaning out weeds and re-sanding small sections. Cosmetic, easy, and worth doing once a season if the driveway isn’t structurally failing.
Steps that need a crew
- Any repair where the base is loose or moving. If the bedding sand is gone or the base gives when you press on it, the section has to be pulled out, re-compacted, and rebuilt. That means removing the pavers, checking base depth (usually 4 to 6 inches of compacted crushed stone over Plano clay), adding geotextile if the base wasn’t laid with it, replenishing bedding sand, and setting the pavers back with the vibratory plate. This is not homeowner work.
- Any area larger than about 4 square feet with movement. It’s easy to fix one paver. It’s not easy to fix the base under 4 square feet without pulling the surrounding set.
- Slope and drainage issues. If water pools on the driveway or runs toward the house, you need someone who can re-grade the subgrade correctly. Poor grading is one of the most common causes of recurring paver problems we see in Plano.
- Root intrusion. You can’t fix it without cutting the root, which weakens the tree – and that’s an arborist question, not a paver question.
- Edges and restraints. If the paver edging has failed, the whole affected run is destabilized. Edging is the structural border that keeps pavers from spreading, and it has to be replaced.
If you’re not sure which category you’re in, the safest call is to get the diagnosis checked before you start pulling pavers. That’s exactly what our free estimate is for.
What Paver Repairs Cost in Plano
Pricing on paver repairs varies widely in Plano depending on which problem you have and how much of the driveway is affected. These are ranges we see locally, not a quote.
- Refilling polymeric sand on an existing driveway, up to 1,000 sq ft: $250 to $600 for materials and labor
- Replacing one sunken paver on a sound base: $100 to $250 including material match
- Pulling and resetting a section (base repair): $400 to $1,200 depending on the square footage and base condition
- Full driveway paver reinstallation on failing base: $7 to $14 per sq ft in Plano, depending on paver choice and base prep needs
- Paver edge restraint replacement: $6 to $12 per linear foot, typically 60 to 100 linear feet around an average Plano drive
One note on brand: if your driveway is being fully reinstalled and you want pavers you can look up and verify, we install Belgard and Techo-Bloc, both of which carry published specs and warranty information. If you’re working with an existing installation, ask the crew to match the original brand and size rather than substituting – Pavestone and Belgard are both common on Plano drives and don’t always blend.
Whatever range you’re quoted, the price should be attached to a diagnosis. A $400 repair without a base inspection is a $400 repair on a problem that will likely recur in two or three years. Get the base checked before you accept the quote.
Common Mistakes to Avoid
- Replacing the paver without pulling and inspecting the base. This is the $200 mistake this whole guide is about. The paver is the visible problem; the base is the actual problem. Skipping the base inspection guarantees the new paver sinks within two seasons.
- Filling a sunken area with sand from the top. Sand poured over the surface of settled pavers doesn’t reach the space that needs it – it just sits on top and washes away with the first rain. The section has to be pulled.
- Applying polymeric sand in direct Plano summer sun. August installs at 2 p.m. with the driveway surface at 140 degrees will crust the sand before it sets properly, and the failure starts in the first month. Wait for early morning in Plano, or wait for a cooler month.
- Ignoring a rocking paver because it “still looks okay.” The rocking is the damage happening. Every drive over a rocking paver moves more sand out from underneath it.
- Sealing a driveway that has base problems. Sealing locks the surface and looks nice for a season, but it traps water and hides the movement going on underneath. Fix the base first, seal later.
- Assuming drought shrinkage means your driveway needs leveling. Some settling will reverse in the wet season. If a shallow dip appears in August and hasn’t moved by November, then you have a real problem.
- Trusting a verbal price on paver repair without a written scope. Every scope, every material, every price change should arrive as a written change order before work happens. If your contractor won’t put it on paper, that’s the first sign the base inspection was skipped.
See the difference
 Before
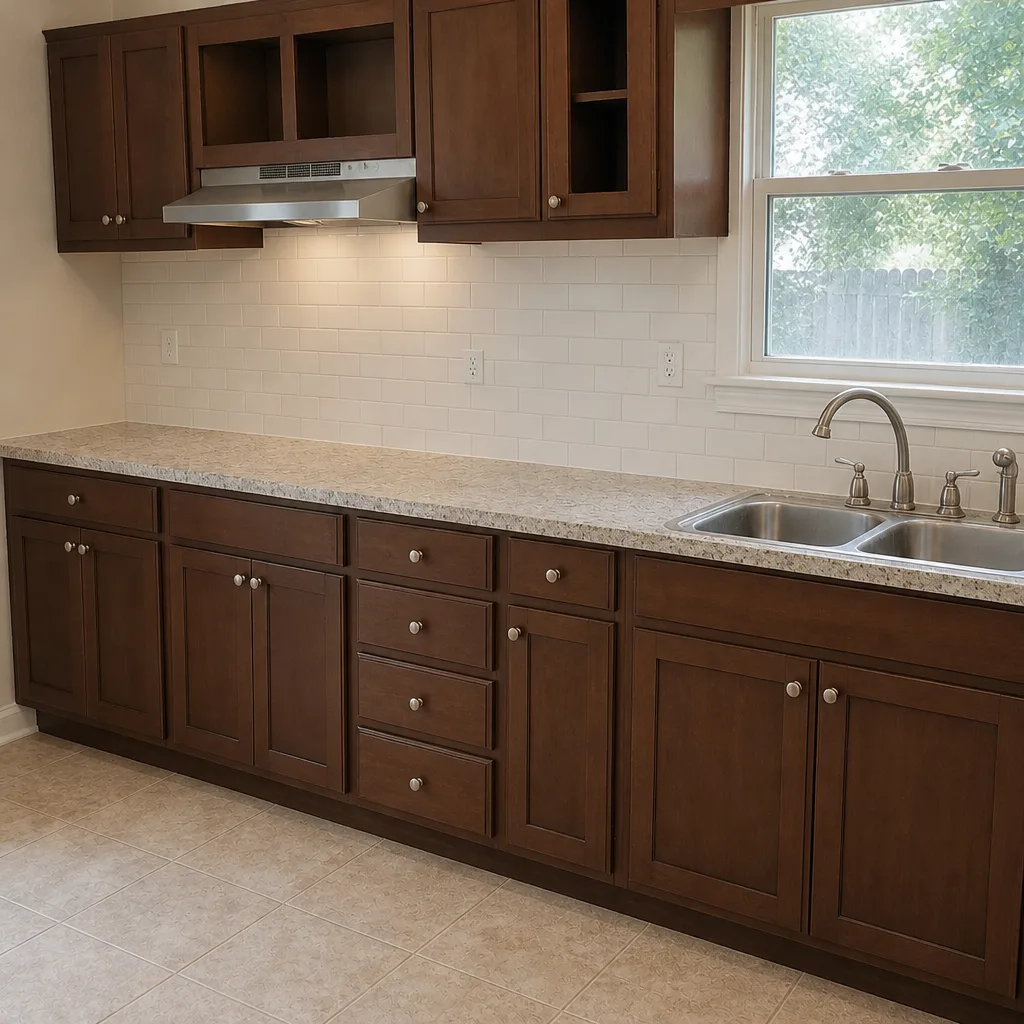 After
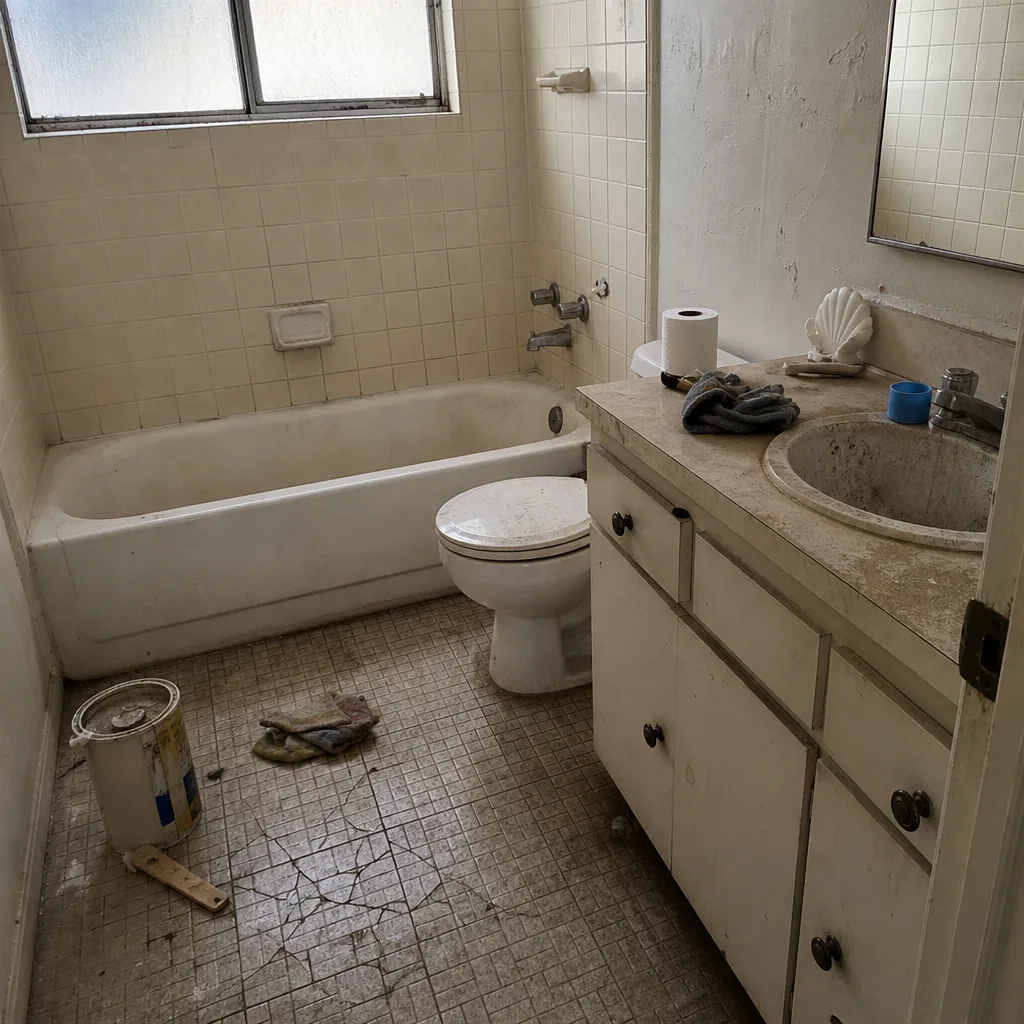 Before
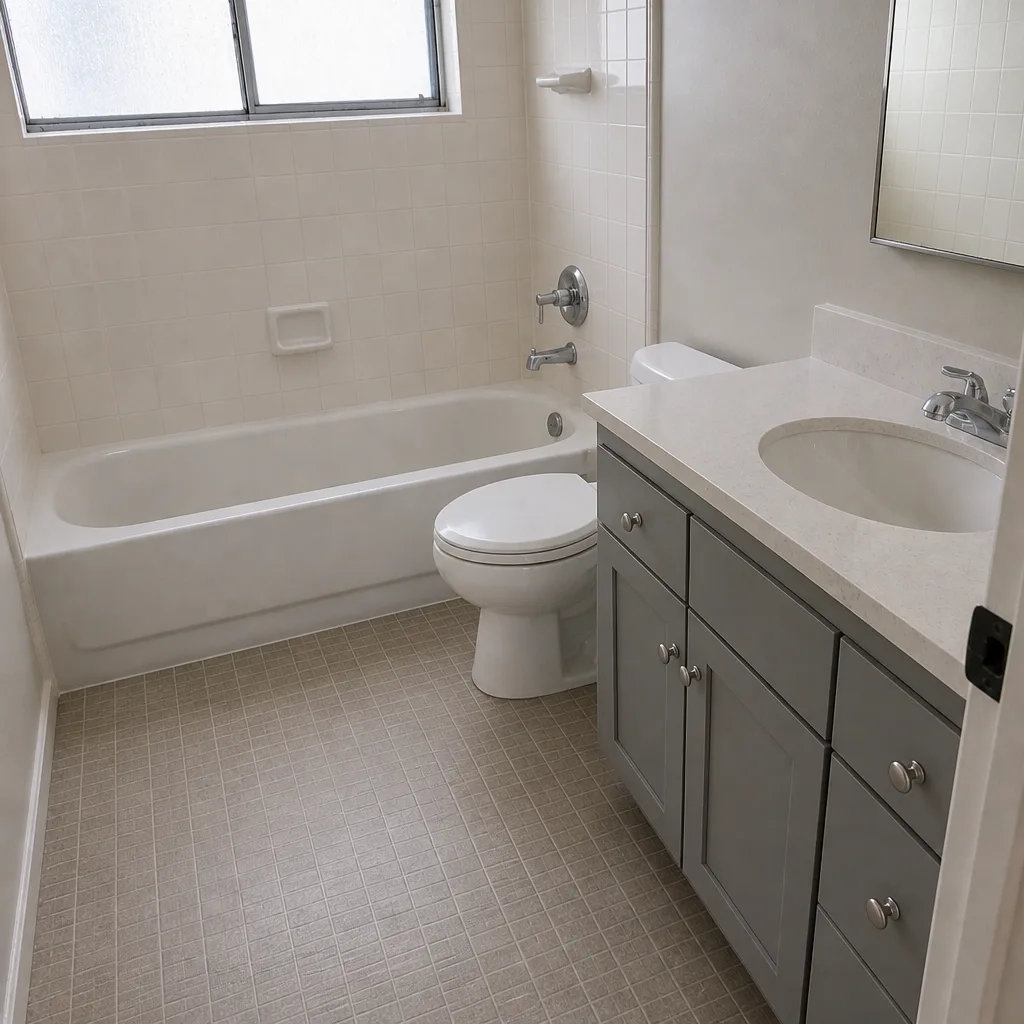 After
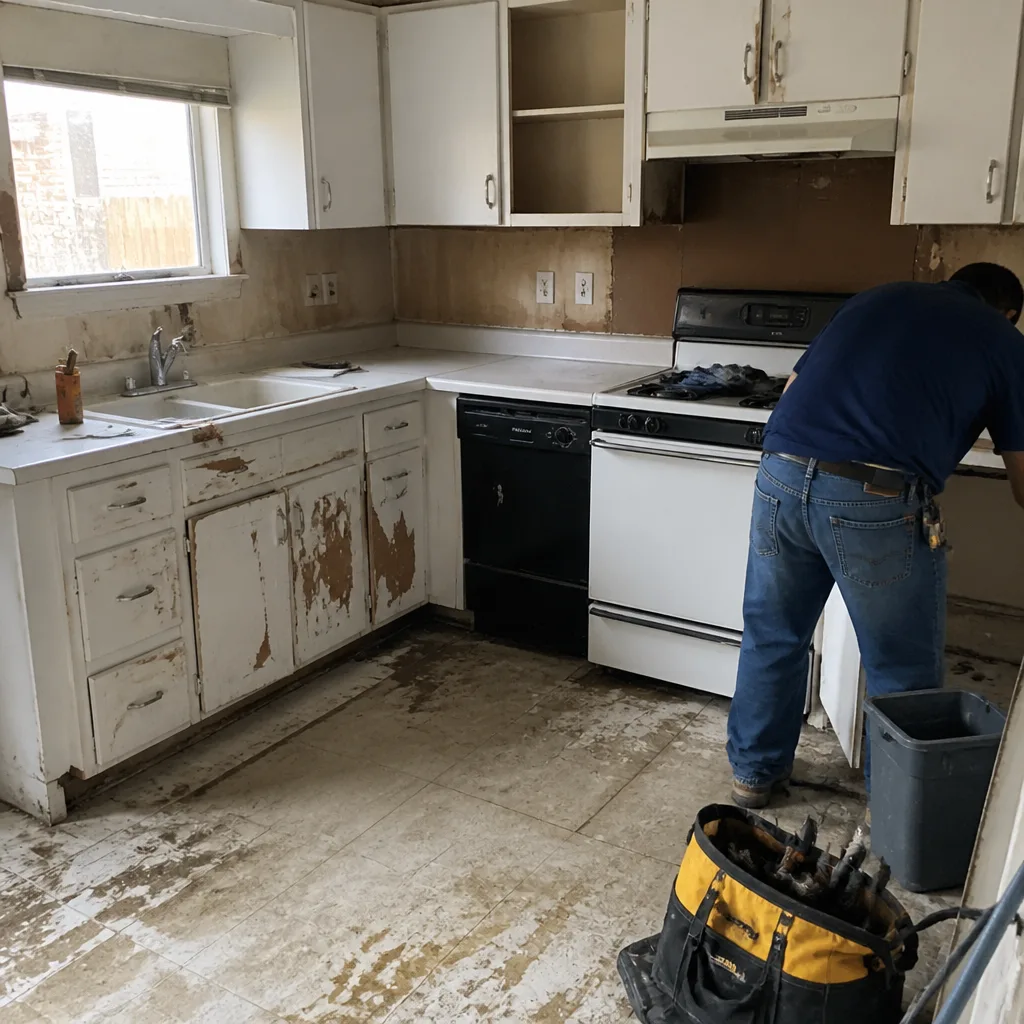 Before
 After
When to Call a Professional
Call a crew when the base is moving, not just the paver. If you’ve pulled up a paver and see hollows, loose bedding sand, or a base that gives when you press, the section needs to come up and be rebuilt – that’s the job for someone with a plate compactor, a proper base material, and the experience to know how deep to go on Plano clay.
Also call when: the affected area is larger than about 4 square feet; there’s a new slope or drainage issue toward the house; edge restraints have failed; or you’ve had the same paver reset twice and it’s sunk again. That third one always means base.
Barrett & Sons Construction Plano offers free estimates in Plano – call (877) 382-4108. Our crew members have up to 28 years of experience on hardscape repairs, and every job comes with a written scope before any work begins. Our technicians will tell you if you don’t need us – which sometimes is the most useful thing a contractor can say.
Frequently Asked Questions
Replacing a single sunken paver costs $100 to $250 in Plano if the base underneath is sound. If the base needs repair, budget $400 to $1,200 for a section repair. Call (877) 382-4108 for a free estimate – we’ll pull a paver and tell you which kind of problem you have before you commit to anything.
You need to pull the paver. There is no reliable way to fix a sunken or rocking paver without pulling it, checking the base, and rebuilding from the bottom up. Surface filling is a temporary fix that creates a small dip in the surrounding pavers and usually fails within a season.
Rattling pavers mean the bedding sand has washed out or shifted under one corner, leaving a void. It’s a sign of a structural issue, not cosmetic. In Plano, rattling often follows a sprinkler leak or heavy runoff along the drive edge. Don’t patch over it – get the base inspected.
Press down on the pavers with your foot. If the paver itself doesn’t give, you have a joint problem and can re-sand. If the paver moves, settles, or feels spongy underneath, you have base erosion and need a section repair. The paver gives or it doesn’t – that’s the test.
Yes, especially in yards that get heavy afternoon sun. Polymeric sand typically lasts four to eight years in Plano, and shorter if it was installed during hot weather or on damp pavers. If you’re re-sanding, do it on a cool morning, not an afternoon.
Depends on the job. At Barrett & Sons, every completed job is backed by our written 90-Day Done Right Promise: if it wasn’t done right, one call brings Tom back to fix it. Ask any contractor to put the same in writing on your repair contract before they start work.
The Bottom Line
Paver problems are almost always base problems. Surface repairs – new sand, replaced pavers, joint filler – look right for a while but won’t hold if the base underneath is moving, washing out, or shrinking through Plano’s clay soil cycles. The five-step diagnostic in this guide is worth doing before you spend a dollar: press, listen, look, pull one paver. If the paver gives under your weight, you’re looking at a base repair, not a paver repair. That’s the honest diagnosis. Barrett & Sons does free estimates in Plano, and we’d rather tell you it’s a $30 sand fix than sell you a $400 job you don’t need.
For related work around the yard, our team also handles Fence Installation in Plano and Home Additions & ADU in Plano if your driveway project is part of a larger plan. Start with our Barrett & Sons Construction Plano home page for the full picture of what we do.
Call (877) 382-4108 for a free estimate. Our crew members have up to 28 years of experience, every scope arrives in writing, and every job is backed by the 90-Day Done Right Promise. A live person answers 24/7 – not a voicemail, not an out-of-state call center.
Written by the team at Barrett & Sons Construction Plano.