Last updated November 18, 2026






Free written scope consultation - allowances, timeline, and change-order rules on paper before a single trade is scheduled
Home Additions & ADU Troubleshooting: Common Problems and How to Fix Them
The most expensive addition defect isn’t a leaking roof. It’s water migrating through the transition where new construction meets old, a seam that gets flashed by whoever finished last and inspected by nobody. Most homeowners in Plano don’t discover these problems at the punch list. They show up 6 to 18 months later as a stain on the ceiling, a bedroom that never cools, or a crack that widens every summer. This guide names the specific failure patterns we’ve seen on additions and ADUs across Plano, explains what causes each one, and shows you how to document a defect so it actually gets fixed.
Quick Answer
Home addition and ADU problems usually trace back to four failure points: the structural and waterproofing connection between new and old construction, an HVAC system sized for the original house and not the addition, foundation settlement at the joint in expansive North Texas clay, and permit inspection stages that were skipped or never scheduled. The fix starts with diagnosis, not patchwork, and it starts with written documentation of what failed and when.
Styles & brands we work with
- Kitchen remodeling
- Bathroom remodeling
- Home additions & ADU
- Roofing
- Windows & doors
- Driveway & pavers
- Fence
Table of Contents
- Why the Old-to-New Connection Fails First
- HVAC Load Calculation Errors That Leave Rooms Uncomfortable
- Foundation Settlement at the Addition Joint
- Permit Inspection Gaps: What Gets Checked and What Doesn’t
- Moisture Intrusion: Tracing the Source
- ADU-Specific Problems
- How to Document and Escalate a Defect Claim in Writing
- What Your Contractor’s Warranty Should Cover
Why the Old-to-New Connection Fails First
The seam between original construction and an addition is where two independent structures meet. They move differently. They settle differently. They absorb moisture differently. When that transition is done right, flashing laps behind the new siding and over the old wall, and structural connectors tie the new framing to the existing framing with engineered hardware. When it’s done wrong, the seam relies on caulk and hope, and it fails the first wet season after the warranty runs out.
In our experience, the shortcuts show up in three specific places.
- Flashing installed over siding instead of behind it. Water runs downhill. If the flashing laps the wrong way, every hard rain pushes water into the wall cavity instead of away from it.
- No house wrap continuous across the joint. The wrap should run from the old wall into the new wall as one system. A break here lets vapor and water find the framing.
- Hangers and anchors undersized or skipped. The new floor and roof framing need engineered connection to existing structure. Nails where a structural screw or hanger was called for are a common finding.
Plano’s wind-driven spring storms push rain sideways at angles that test every seam on the house. We’ve opened walls on Plano additions 12 months after completion and found the failure was traced to a single reversed piece of flashing at the roofline transition. If you’re planning an addition, the right time to ask about flashing and anchoring is before the framing goes up. The right way to start is with Home Additions & ADU in Plano so the scope is written down before work begins.
HVAC Load Calculation Errors That Leave Rooms Uncomfortable
When an addition feels warm in July and cold in January, the cause is almost never the thermostat. It’s the ductwork. The most common mistake we see is a contractor who extends the existing system into the new space instead of running a dedicated system, and the existing unit almost always loses. That’s not opinion. A load calculation on the original house was sized for the original square footage. Adding 400 square feet of conditioned space with an 8-foot ceiling and west-facing windows can push the system past its design capacity by 15 to 25 percent.
Here’s what proper sizing looks like:
- Manual J load calculation on the full conditioned space, old plus new, not just the addition.
- Room-by-room sizing so each space gets the CFM it needs, especially a bonus room over a garage.
- Dedicated system or minisplit for the addition when the existing unit can’t carry the extra load. An addition with its own system is easier to control and cheaper to run than a house with one straining unit.
- Return air sized to match the supply ductwork. Undersized returns are common in Plano additions that were tacked onto older houses with 2-ton systems.
If you’re troubleshooting an existing problem, get a load calculation before you spend money on anything else. A contractor who tells you the unit is “probably fine” without running the numbers hasn’t done the work.
Foundation Settlement at the Addition Joint
North Texas sits on expansive clay that swells when it’s wet and shrinks when it’s dry. Plano gets both extremes in the same year. An addition that bears on a different footing depth than the original house will move differently, and the joint between them is where that movement shows up first. Differential settlement is the technical term. Homeowners see it as a crack that runs from the corner of a doorframe to the ceiling, or a floor that slopes away from the old house.
Early signs to watch for in the first 18 months after construction:
- A diagonal crack at the interior or exterior corner where the addition meets the original wall, especially one that grows seasonally.
- Doors and windows in the addition that stick in late summer but work fine in winter.
- A visible step in the brick or siding at the roofline transition.
- Gaps opening at the sill plate where the addition floor framing meets the original foundation.
Some hairline cracking is normal as concrete cures. A crack wider than a credit card that keeps growing is not. The fix depends on cause: proper drainage and gutter extensions if water is pooling at the joint, underpinning if the footing was undersized, or piering if settlement is ongoing. None of that starts until someone looks at the actual soil and footing conditions. In Plano, we’ve seen additions on Keystone-style soil conditions settle differently than the original house because the original was built on a post-tension slab and the addition was not. That’s a design decision made before the first pour, and it’s the one nobody mentions at closeout.
Permit Inspection Gaps: What Gets Checked and What Doesn’t
A permit inspector works for you, not for the contractor. That’s why we like the inspection process. It’s a second set of eyes on the framing and the rough-in. But the inspection only catches what it’s scheduled to catch. In Plano, the stages that matter most on an addition are foundation, framing, electrical rough-in, plumbing and mechanical rough-in, and final. What too often slips through is the order in which those inspections get called.
Framing gets inspected before insulation, which means a framing defect that shows up after drywall is installed has to be torn out to fix. Insulation is inspected for depth and quality, but a wall insulated to R-13 when the plans specified R-15 is rarely caught if the inspector wasn’t looking for it. Mechanical inspection checks the equipment install, but a duct layout designed on the back of a napkin isn’t always verified against a Manual D duct design.
What you can do: ask for copies of every signed inspection card at closeout. If the framing inspection happened before a wall was moved or a window was added, the card on file doesn’t cover the current condition. Our practice is to pull permits and get inspections signed on every eligible job, and we hand the homeowner the documentation because the last contractor most customers used told them permits were optional. They aren’t. Call (877) 382-4108 if you want a free second opinion on a written estimate you’re holding.
Moisture Intrusion: Tracing the Source
Water inside an addition is almost never where it appears. A stain on a ceiling 6 feet from the old wall usually means the water entered at the roof transition and traveled along a joist before it found a low point. Chasing the stain with paint fixes nothing. You trace the path.
Follow this sequence in order:
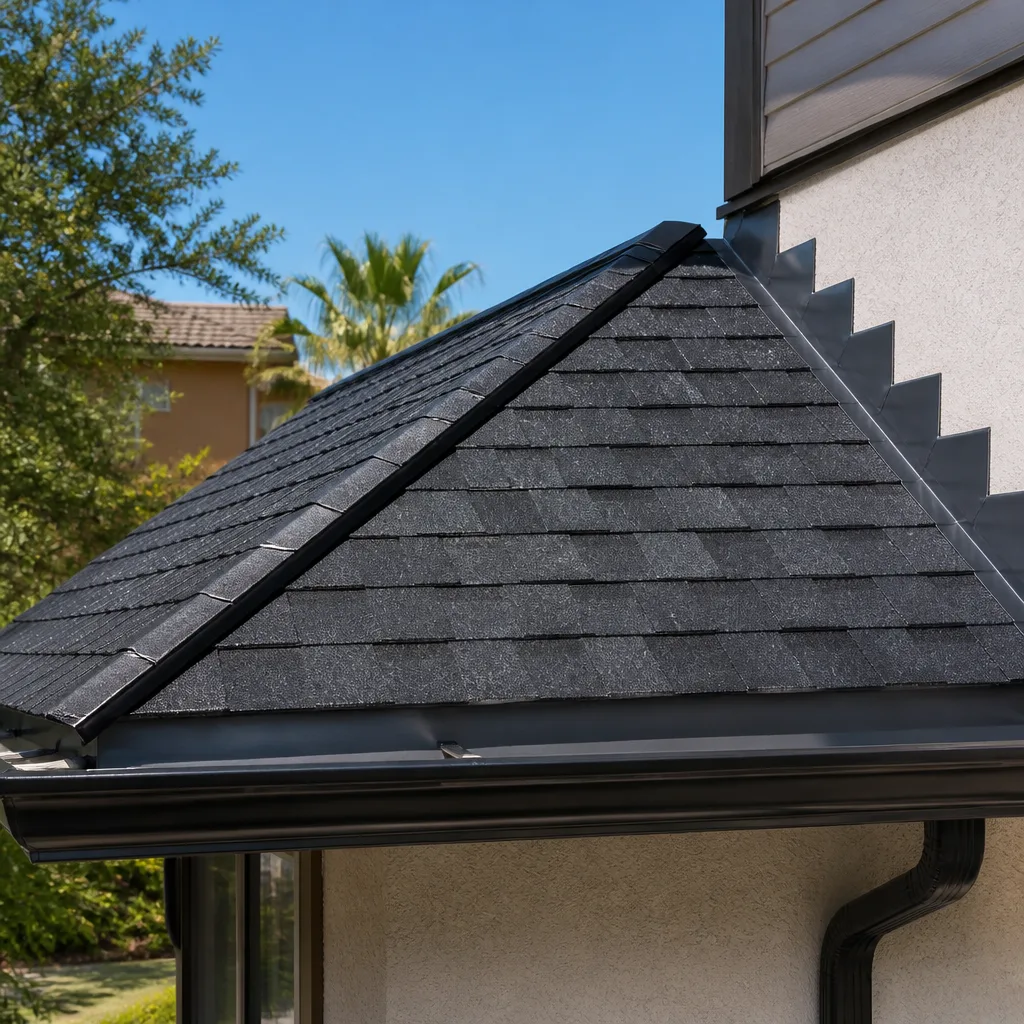
- Look at the roof transition first. The valley where the new roof meets the old roof is the highest-risk location on any addition. Step flashing should be woven into the courses, not surface-caulked.
- Check the siding-to-old-wall joint. A continuous flashing detail here, typically a metal Z-flashing, should divert water out of the wall. If water runs across the top of the old wall instead, you’ll find rot in the wall cavity within two years.
- Inspect window and door perimeters in the addition. These should have sill pans or proper flashing tape. Plano’s driving rain finds poor perimeter flashing quickly.
- Look for condensation vs. intrusion. A bath vent that dumps into the attic instead of outdoors shows up as moisture on the ceiling sheathing, not the interior drywall. Same symptom, different fix.
James Hardie fiber cement siding installed at the joint, properly lapped, will outlast any caulk-only detail. The materials matter less than the sequence in which they’re installed, and the sequence is where most shortcuts hide.
ADU-Specific Problems
An accessory dwelling unit has every failure risk of a home addition plus a few more. The two that come up most in Plano are occupancy and separation of systems.
Occupancy and rental classification. A detached ADU that will be rented has different code treatment than a guest suite. Egress windows, smoke and carbon monoxide alarms, and separation requirements all change. If the ADU was built as “extra space” but functions as a rental, the permit classification may not match reality, and that creates problems at resale or if a tenant is ever injured. Get the occupancy classification right before construction, not after.
Utility separation. The most common ADU troubleshooting call we get is about a single electric panel that can’t carry the demand. An ADU with its own heating and cooling, hot water, and dryer needs its own service capacity or a load calculation that proves the main panel can handle both. A 200-amp service shared between a 3-bedroom house and a 600-square-foot ADU with electric appliances is a problem waiting for winter.
Attached ADUs over garages bring the bonus-room problem back: the space above a garage loses heat through the slab and struggles with air balancing. A dedicated minisplit and a well-sealed thermal envelope solve it. A “Tuff Shed” conversion marketed as an ADU solves nothing but the painting.
How to Document and Escalate a Defect Claim in Writing
Verbal complaints get forgotten. A written, dated, specific defect report changes the timeline. Here’s how to build one that holds up.
- Photograph and date everything. Same angle, same location, every two weeks, so growth is visible.
- Write a one-paragraph description of each defect with the room, wall, and approximate square footage affected. “Water stain, 8 inches wide, northeast ceiling of addition bedroom, first observed June 3, and roughly doubled by July 18” is useful. “Ceiling wet” is not.
- Reference the contract scope and the warranty terms for the work item in question. Quote the language.
- Send it in writing with a request for a response in 10 business days. Keep a copy.
- Escalate in order. Contractor first, then a written demand with a reasonable cure period, then your local licensing authority (if applicable), then a Texas consumer complaint to the Attorney General’s office, then a construction attorney if the repair cost justifies it.
The change order paper trail matters here. If every scope change during the build came to you in writing, you already have a documented record of what was built. That’s the reason we issue a written change order before any scope change touches the job. A written record turns a “he said, she said” into a timeline.
What Your Contractor’s Warranty Should Cover
Under Texas law, a written warranty on a construction contract is binding. What it covers is what it says it covers, which is why the language matters.
What a construction warranty should cover:
- Workmanship defects for at least one year. Framing, flashing, waterproofing, and finish work installed to the contract scope.
- Structural defects for longer. Foundation and structural framing warranties should extend past the workmanship window. Ask the term in writing.
- Manufacturer warranties assigned to you. Windows, roofing materials, and appliances arrive with their own warranties. Those should transfer in writing.
- Water intrusion for a stated period. Roofing and flashing details are where most warranty claims go to die. A warranty that excludes water intrusion doesn’t cover the most likely failure.
What a warranty cannot legally do: waive your rights under the Texas Residential Construction Liability Act, shorten a defect claim to a period that’s unreasonably short, or exclude defects the contractor concealed. Our own 90-Day Done Right Promise is written on every contract, not buried in fine print. If the work isn’t done right in that window, one call brings us back. It’s the kind of clause you want to see before you sign, not after.
Common Mistakes to Avoid
- Letting the contractor flash the joint with caulk and call it waterproofing. Caulk on Plano siding fails in 3 to 5 years under the summer heat. Metal flashing woven properly won’t.
- Extending the original HVAC without a load calculation. The original unit almost always loses capacity. Rooms run hot and cold, and the compressor fails early.
- Skipping the top-of-wall inspection before drywall goes up. Once drywall covers the framing, the inspection card no longer reflects what’s behind it.
- Ignoring a hairline crack at the addition joint. A small crack is normal. A growing crack in the first 18 months should be measured and photographed every season.
- Prepaying more than 10 to 15 percent before work starts. A deposit over 20 percent limits your leverage if the project stalls. Plano has had its share of unfinished additions in the last few years.
- Failing to get manufacturer warranties assigned in writing. When the roof is James Hardie siding meets CertainTeed underlayment, the transfer paperwork matters if you sell.
- Treating an ADU as a “garage conversion” to save on permits. The occupancy classification drives egress and code compliance. Getting it wrong creates the biggest problem of all: liability.
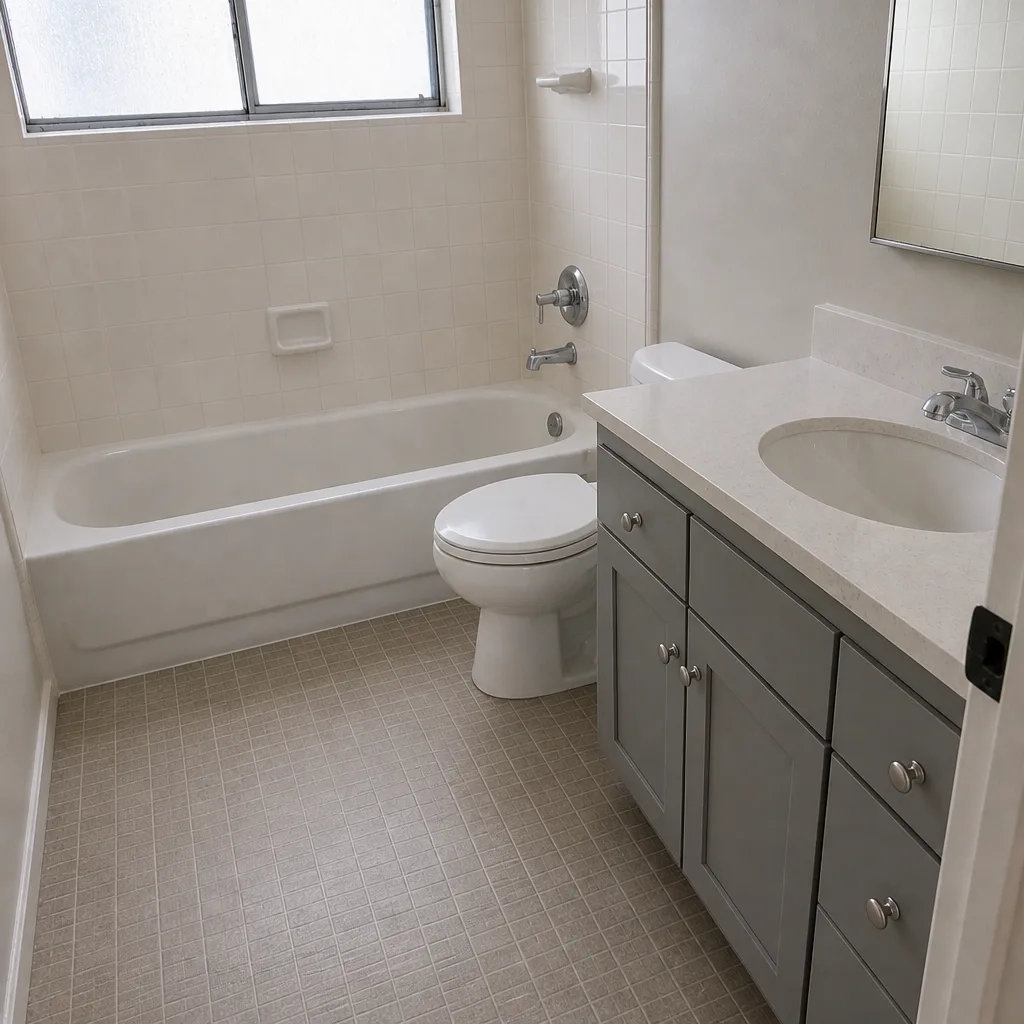
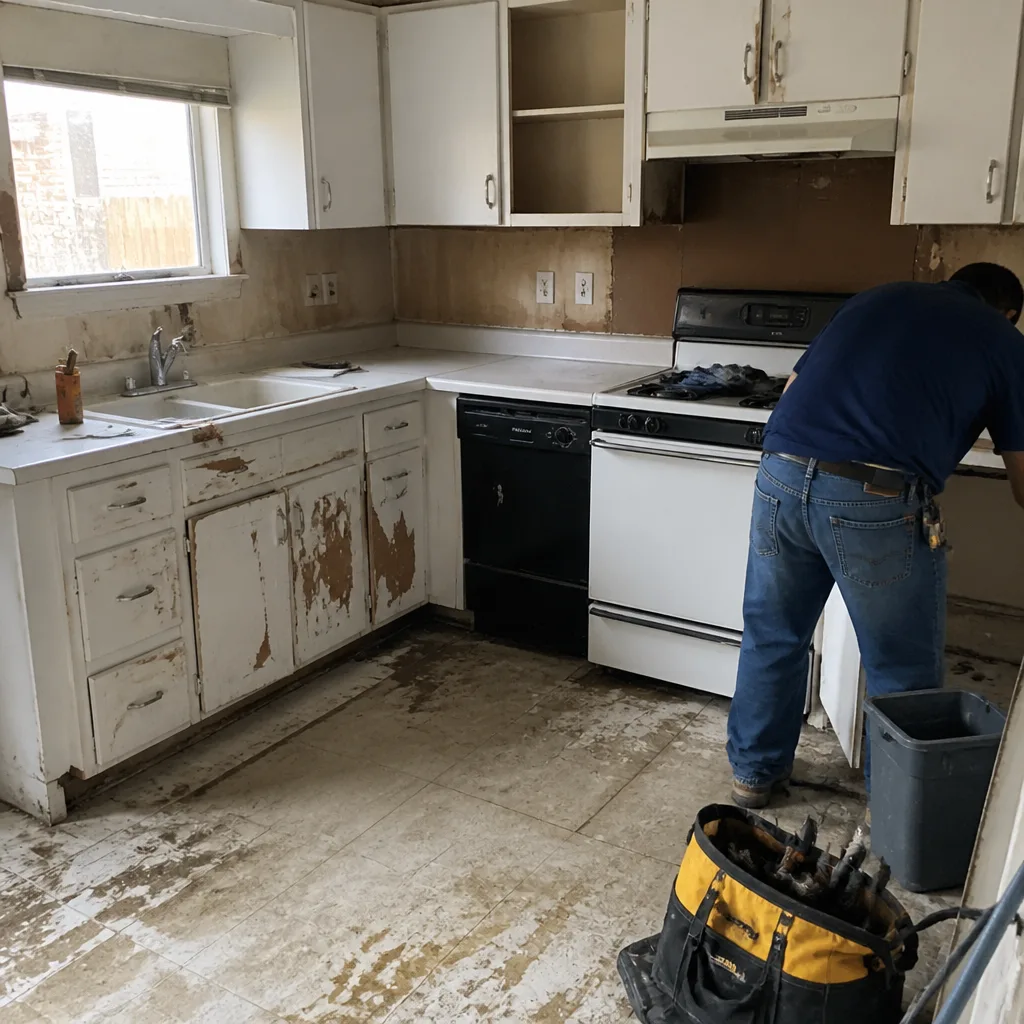
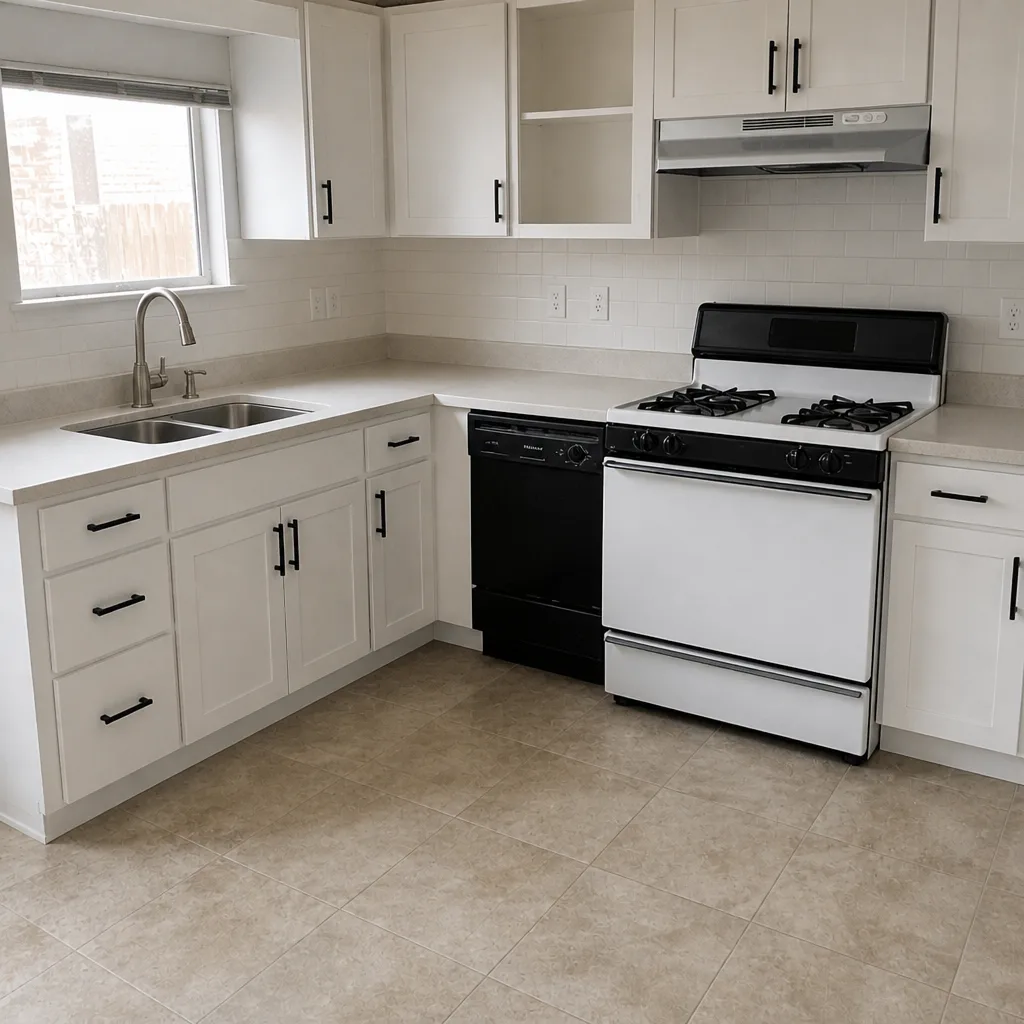
See the difference
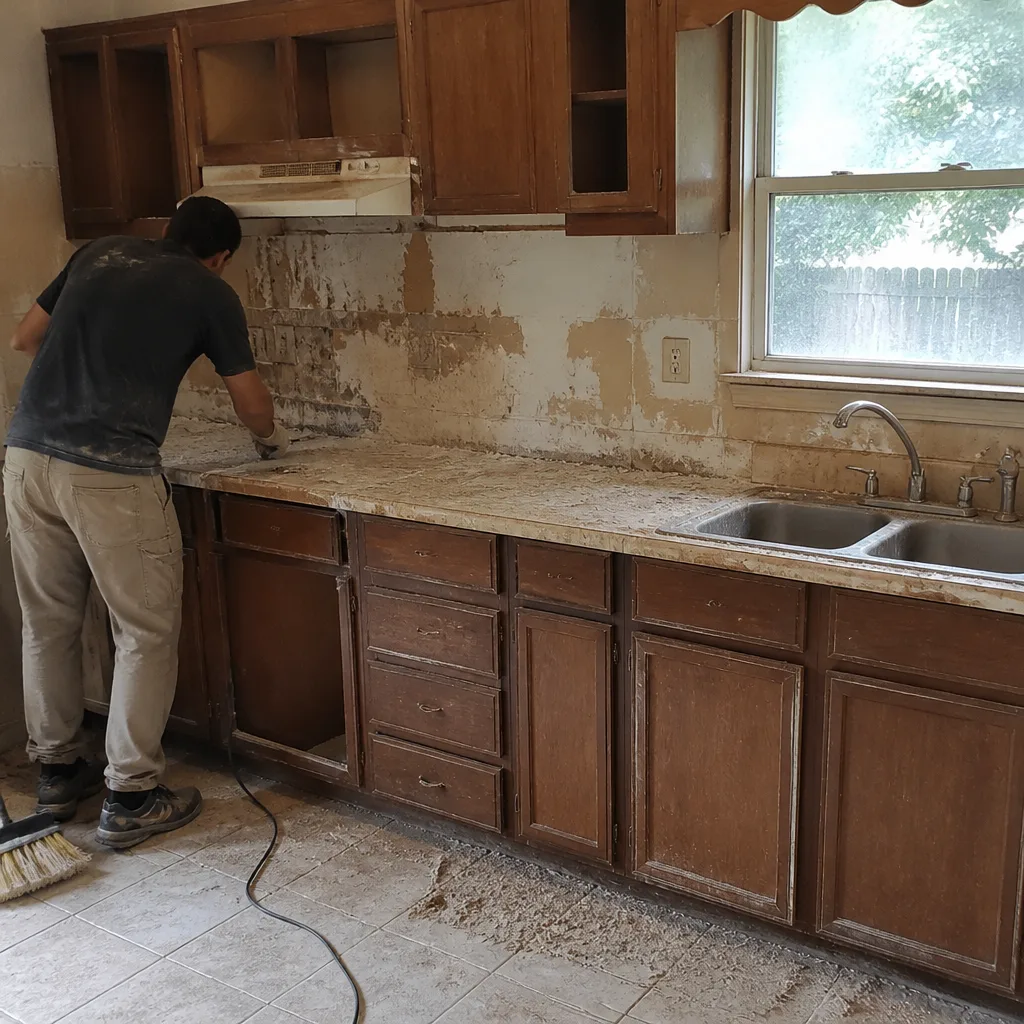 Before
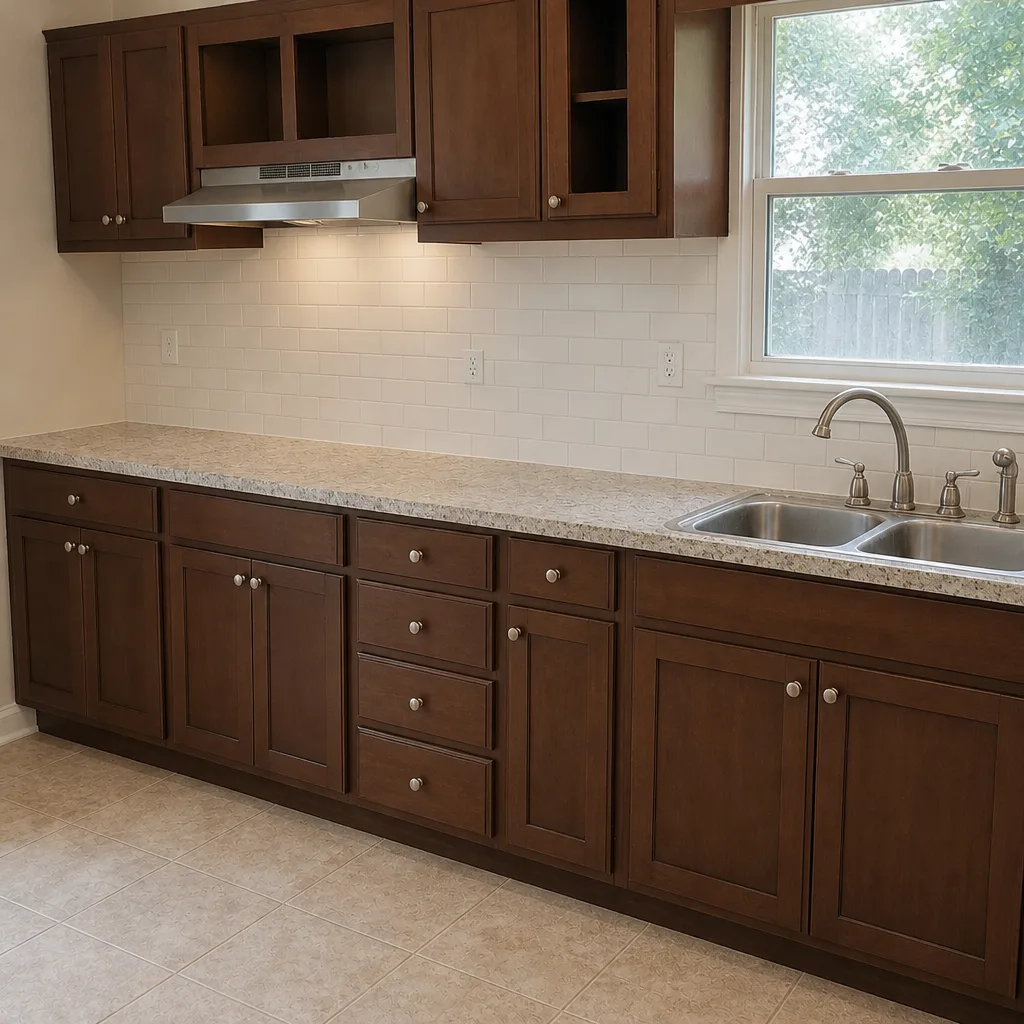 After
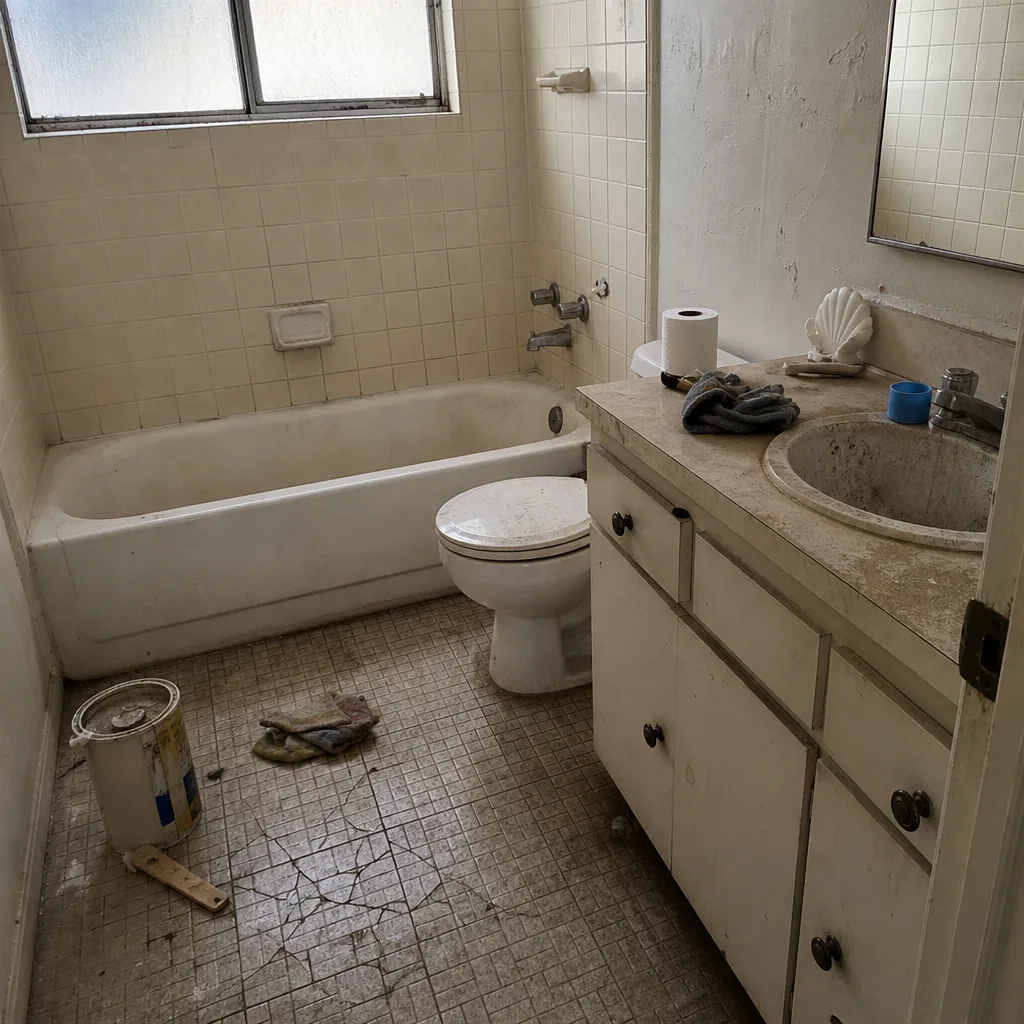 Before
 After
 Before
 After
When to Call a Professional
Call a professional when a crack at the addition joint widens between seasons, when the new room never reaches the thermostat setpoint, or when water appears at the transition and a second coat of paint hasn’t stopped it. Those are the three signs that point to structural, mechanical, or waterproofing defects rather than normal settling. If the addition is 6 to 18 months old and already showing any of them, the timing is the clue. You want a licensed contractor who will inspect the framing, the flashing sequence, and the HVAC load calculation as one diagnostic. Barrett & Sons Construction Plano offers free estimates in Plano. Call (877) 382-4108 and we’ll look at the actual joint before we tell you what to fix.
Frequently Asked Questions
A water intrusion repair at the old-to-new joint typically runs $1,800 to $6,500 in the Plano market depending on whether framing is wet. The cost is driven by how much wall has to be opened to reach the flashing failure. A repair that includes re-flashing the roof transition and re-siding the joint usually lands in the $3,000 to $5,500 range. Call (877) 382-4108 for an exact quote; estimates are free.
Sometimes yes, often no. If the flashing fails, the fix is on the exterior, so no interior demolition is needed. If framing is wet behind the drywall, the drywall comes out because mold and rot have to be addressed directly. A moisture meter tells you which case you’re in within 20 minutes, and that’s the first step before any quote.
Yes. An ADU in Plano requires a building permit and inspections through foundation, framing, mechanical, electrical, and final. Detached ADUs also trigger zoning review for setbacks and lot coverage. Every eligible job we do includes permits pulled and inspections signed, and we hand you the inspection cards at closeout.
It’s almost always an HVAC load mismatch. The original system was sized for the original square footage and can’t carry the extra volume, or the supply and return ducts in the addition are undersized. A Manual J load calculation on the full house shows the gap in about an hour. A dedicated minisplit for the addition is often the cheaper fix than upgrading the whole system.
Workmanship should be covered for at least one year, and structural defects should be covered longer than that. Roofing and waterproofing on a new addition should carry a stated water intrusion term, written into the contract. Manufacturer warranties on windows, roofing, and siding should be assigned to you in writing at closeout. If a warranty excludes water intrusion, it excludes the most likely failure.
It’s when the addition’s foundation moves at a different rate than the original house, usually because the footing depth or soil treatment differs between the two. In North Texas expansive clay, that movement shows up as a growing crack at the interior or exterior corner where new meets old. Early detection in the first 18 months gives you the most repair options, and the cheapest ones.
The Bottom Line
The addition problems that cost the most money aren’t the ones visible on inspection day. They’re the ones that wait 6 to 18 months to show up as water at the joint, a room that never cools, or a crack that keeps opening. If you’re planning an addition or ADU in Plano, the biggest protection is written scope, proper flashing and anchoring, a load calculation sized for the full house, and a warranty that actually covers water intrusion and structural work. If you’re already living with a problem, photograph it, date it, and get a professional diagnostic before you spend a dime on cosmetic repair. If you need Driveway & Pavers in Plano or Fence Installation in Plano around the addition, those are covered too. Start at Barrett & Sons Construction Plano home. To schedule a free estimate, call Barrett & Sons Construction Plano at (877) 382-4108.
Written by the team at Barrett & Sons Construction Plano.